2014
Bludotone Head Shells
Jun/10/14 09:38
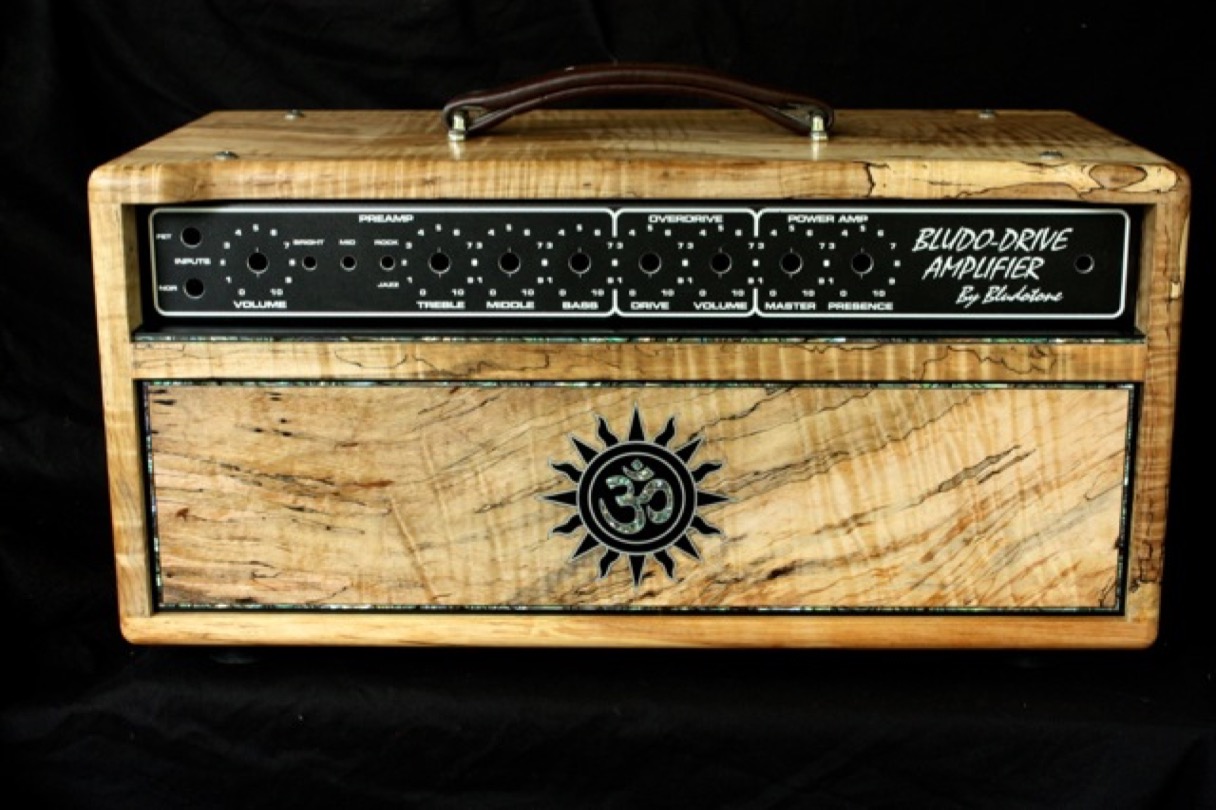
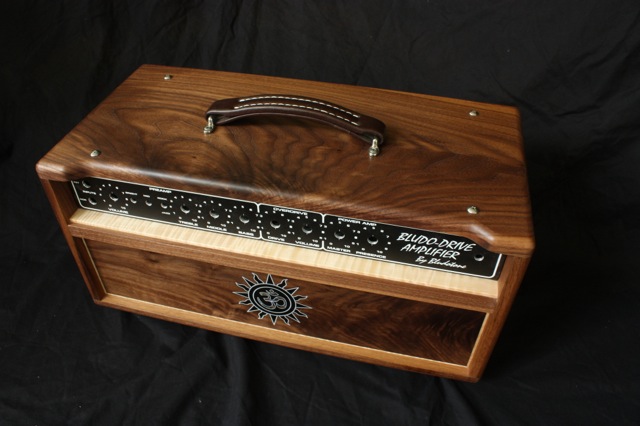
A couple new head shells heading out the door, and a few pictures of the construction process. The top one is some lovely spalted curly Maple with Ebony and abalone trim and will actually be getting a Bludotone Universal Tone instead of a Bludo-Drive. The second is Black Walnut with curly Maple trim. Be sure to check out Bludotone Amp Works for some of the most amazing amps on the planet.
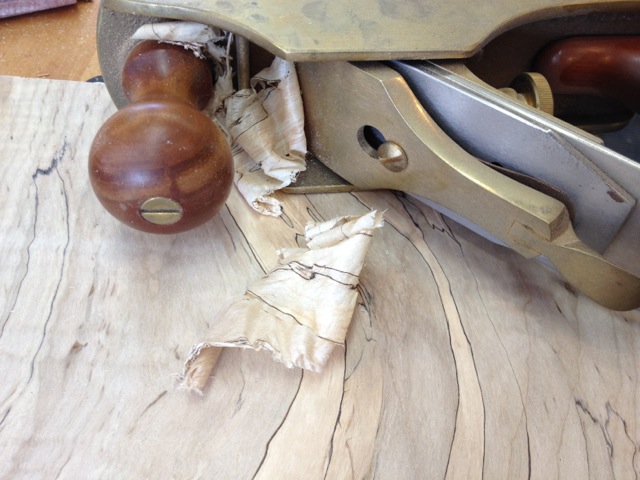
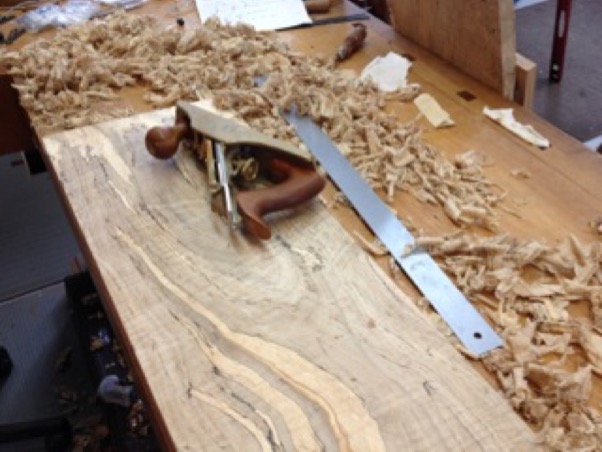
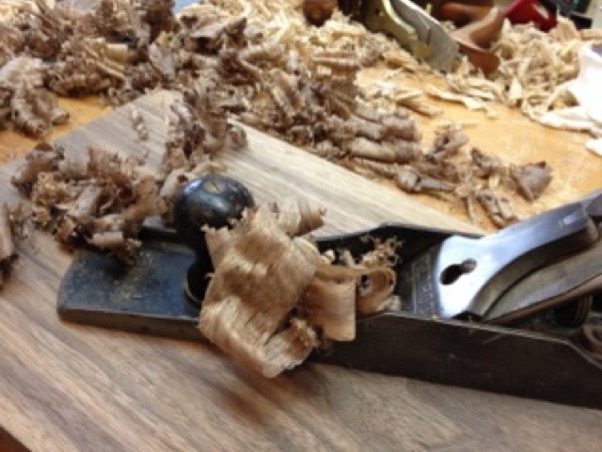
Most of the boards for these are much wider than my jointer, so I flatten one face by hand. I really enjoy this part, especially getting shavings like these:
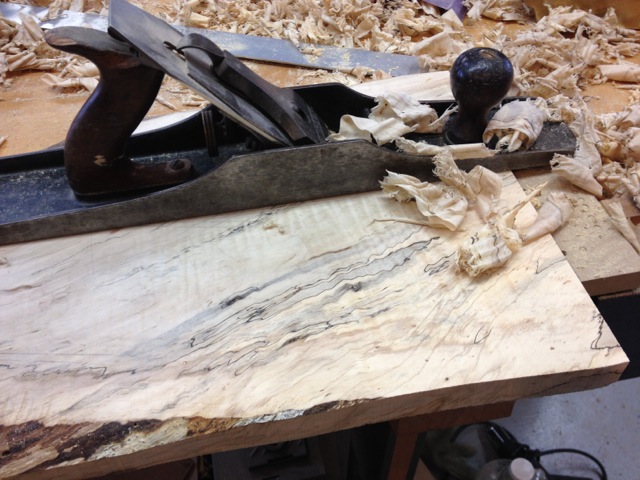
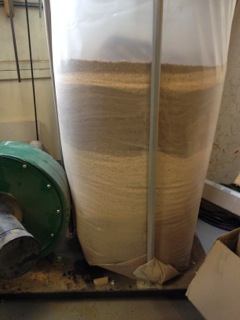
Of course, I use the thickness planer when I can. This full dust collection bag is the sign of a lot of planing!
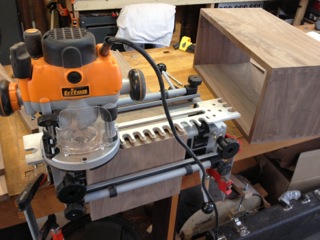
After each piece is cut to size, the dovetails are machined and then glued up.
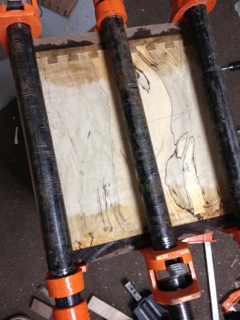
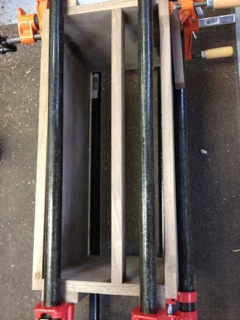
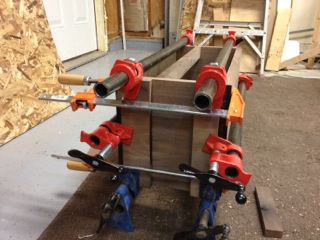
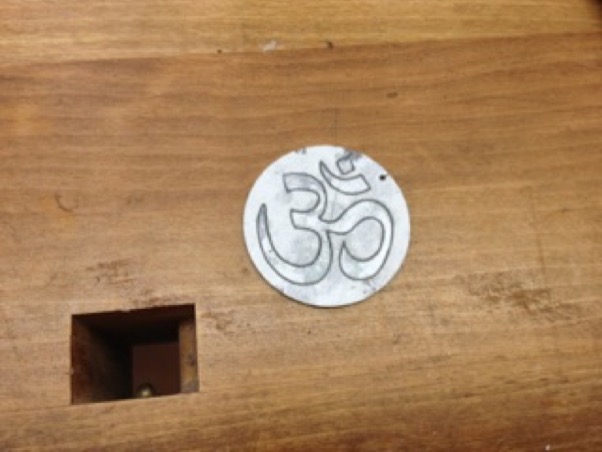
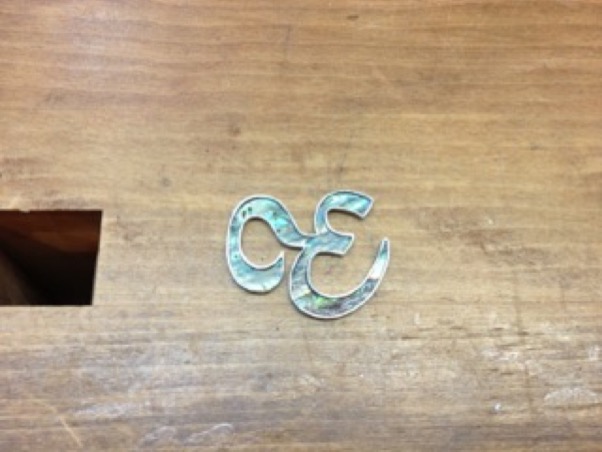
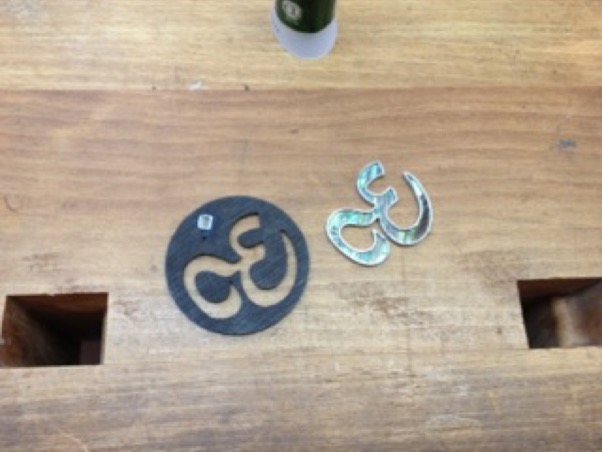
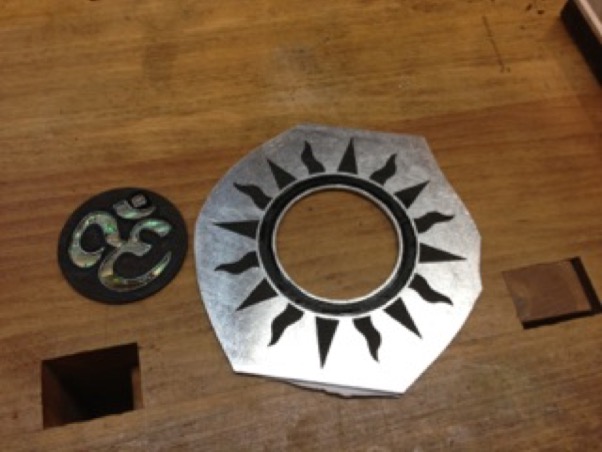
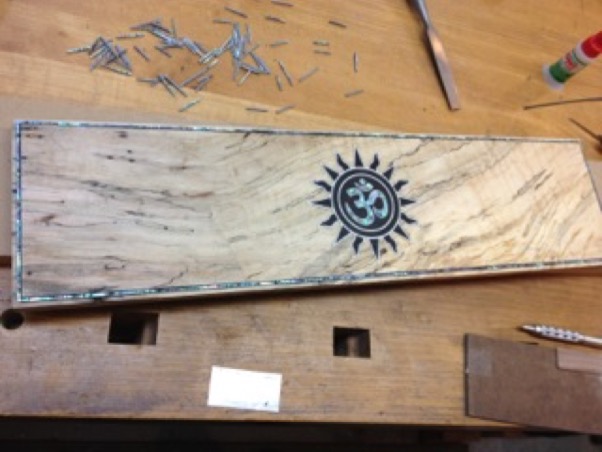
Eventually inlays are cut and… inlaid.
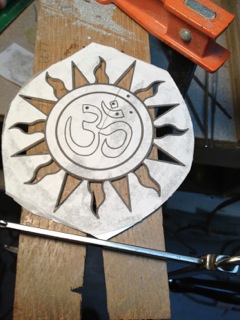
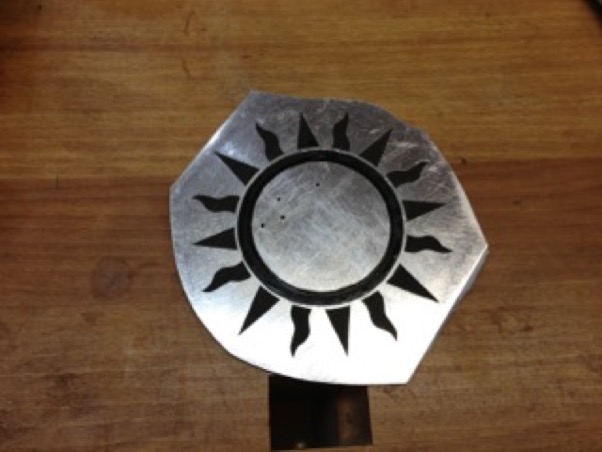
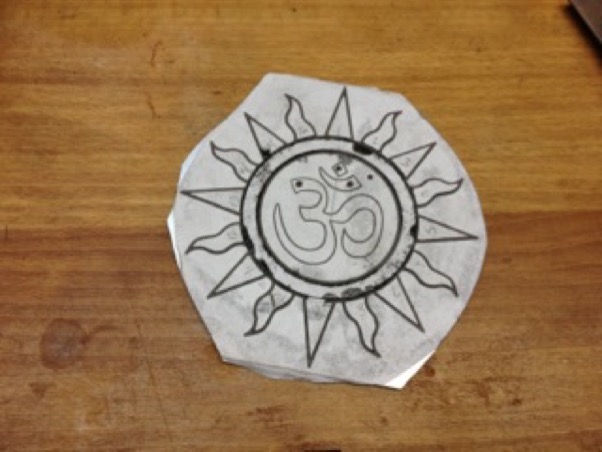
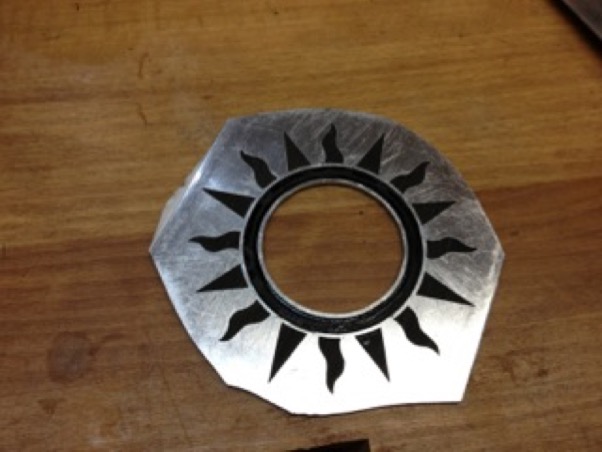
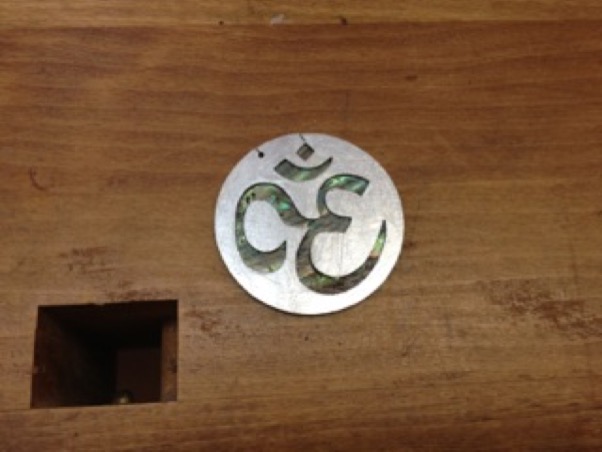
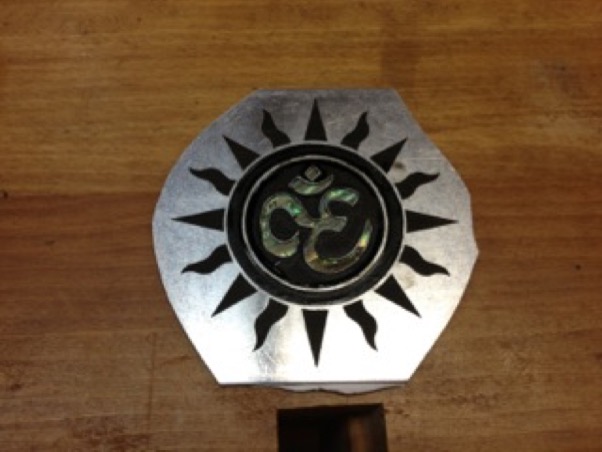
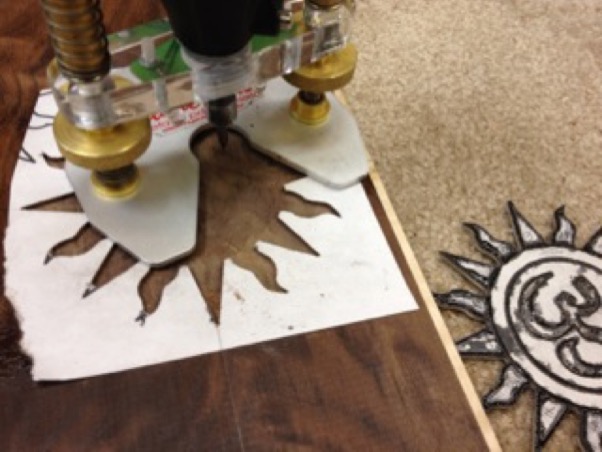
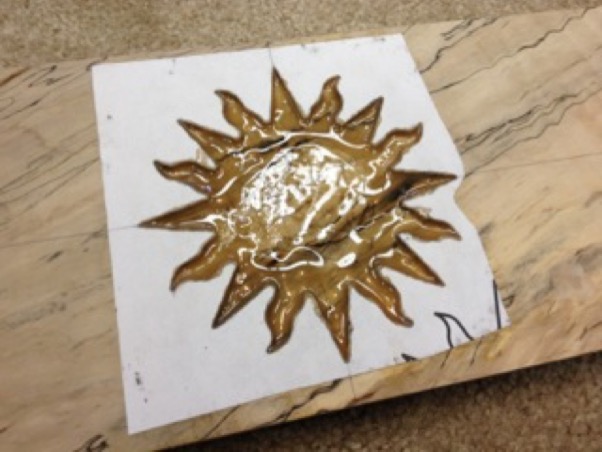
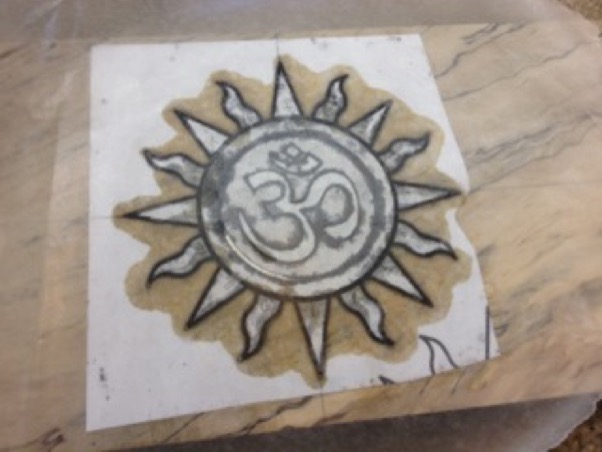
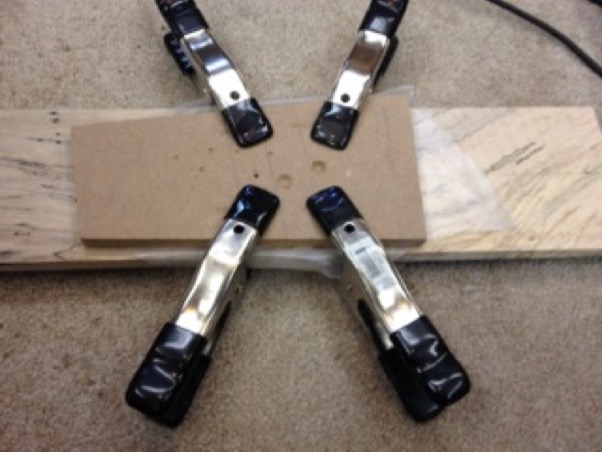
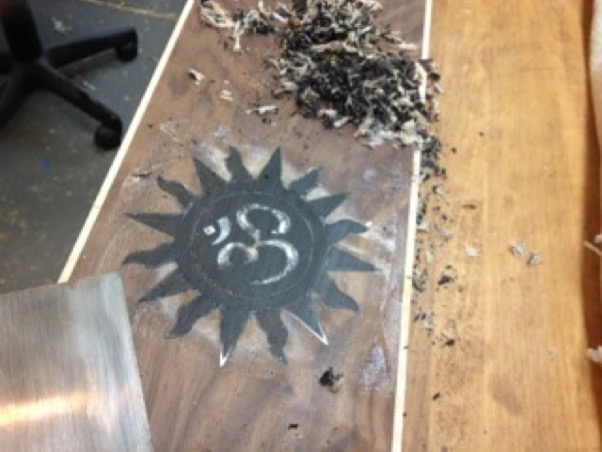
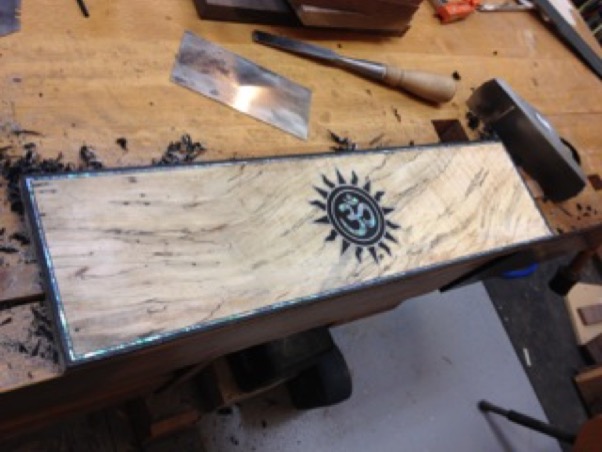
And scraped and sanded flush
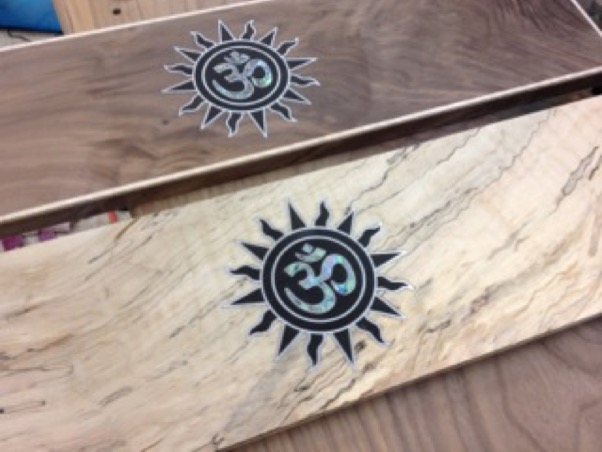
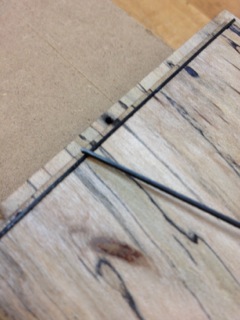
Then the trim is added.
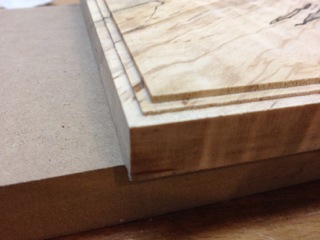
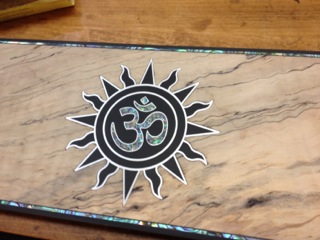
Skip a few steps, and they get oiled and waxed!
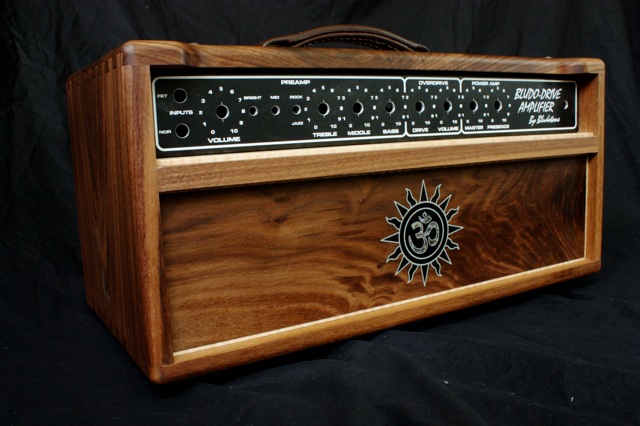
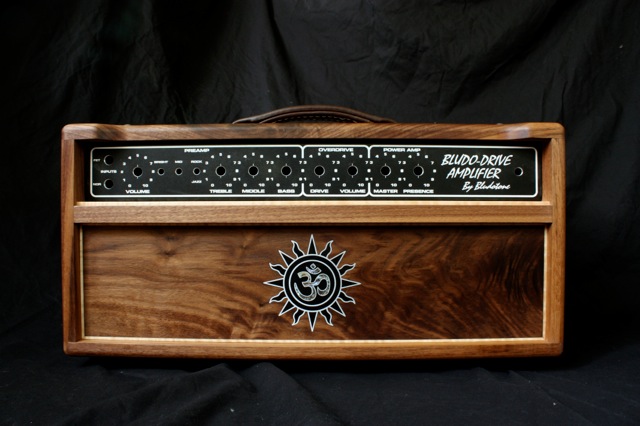
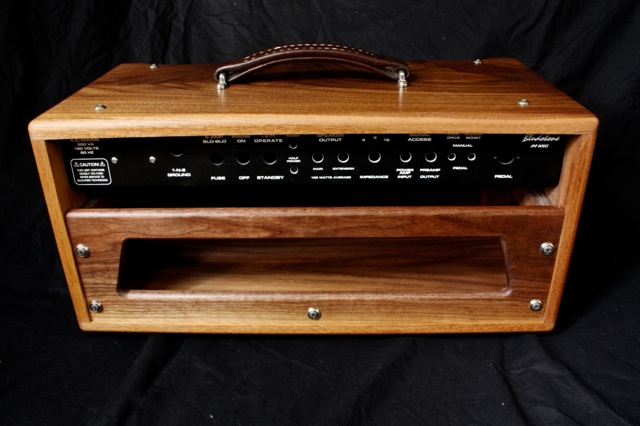
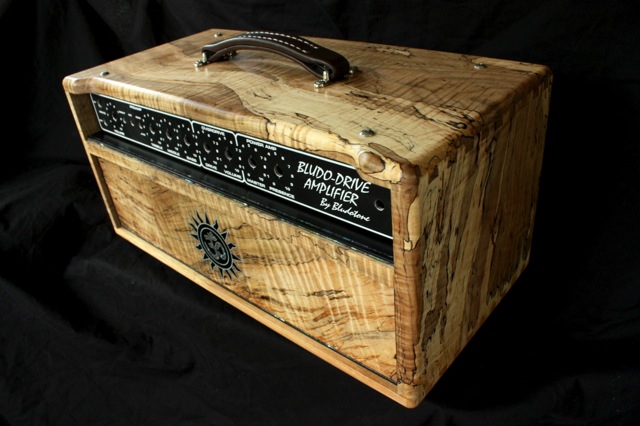
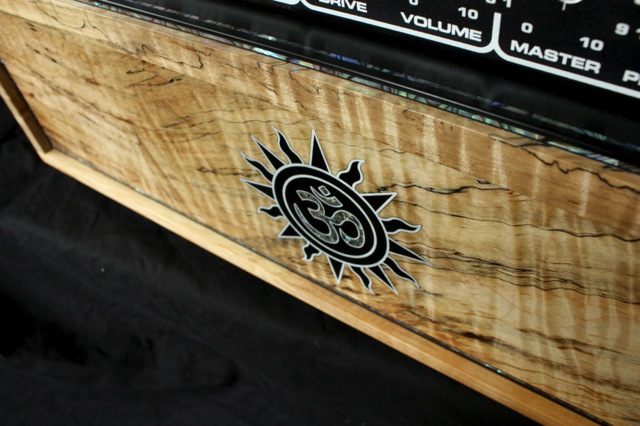
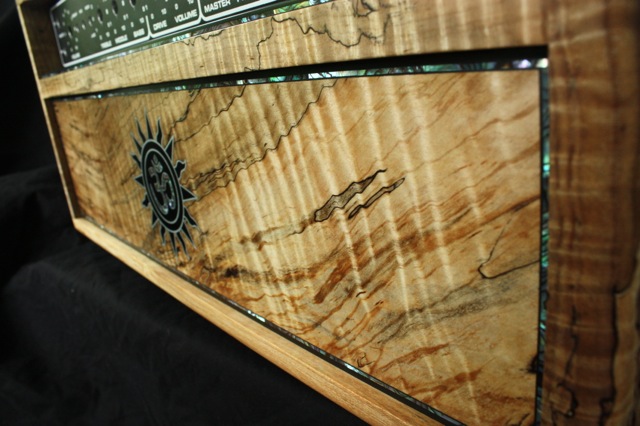
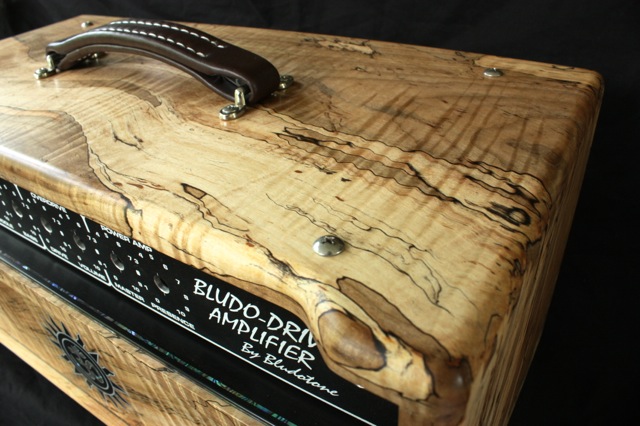
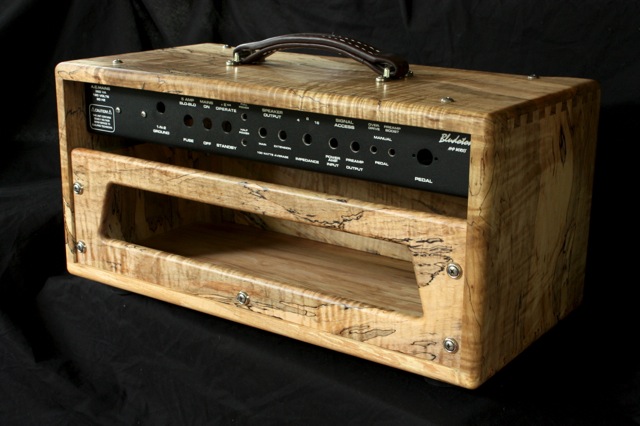
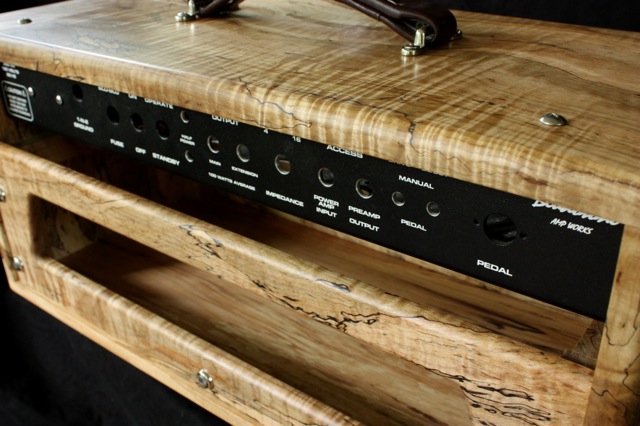
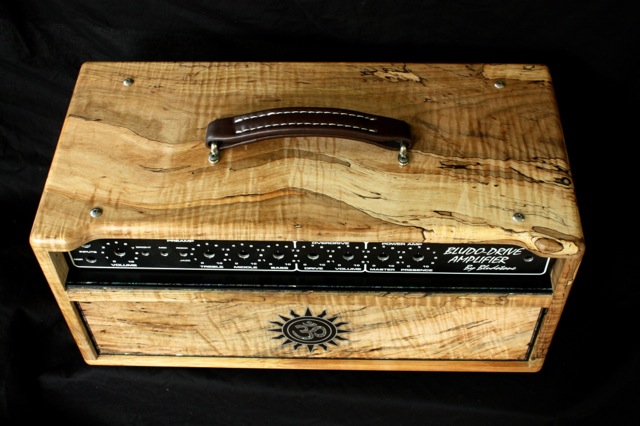


Most of the boards for these are much wider than my jointer, so I flatten one face by hand. I really enjoy this part, especially getting shavings like these:


Of course, I use the thickness planer when I can. This full dust collection bag is the sign of a lot of planing!

After each piece is cut to size, the dovetails are machined and then glued up.


Eventually inlays are cut and… inlaid.


And scraped and sanded flush


Then the trim is added.


Skip a few steps, and they get oiled and waxed!


Headstock Inlay
Jun/09/14 10:24
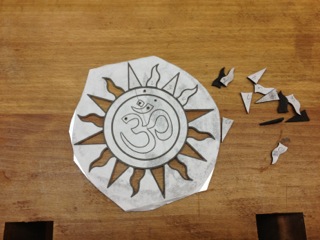
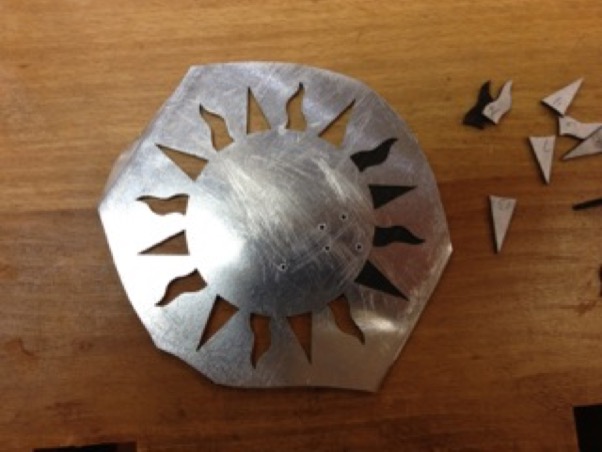
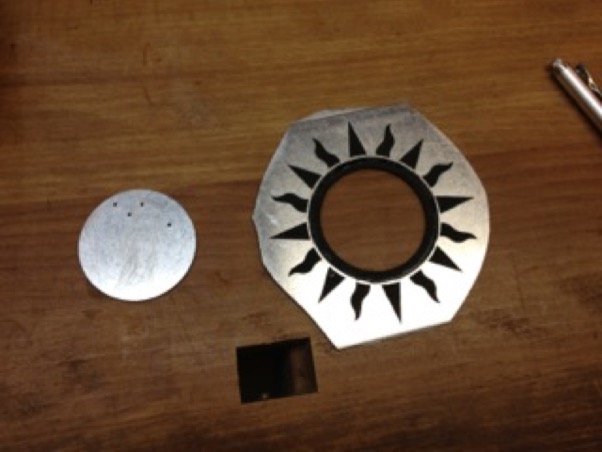
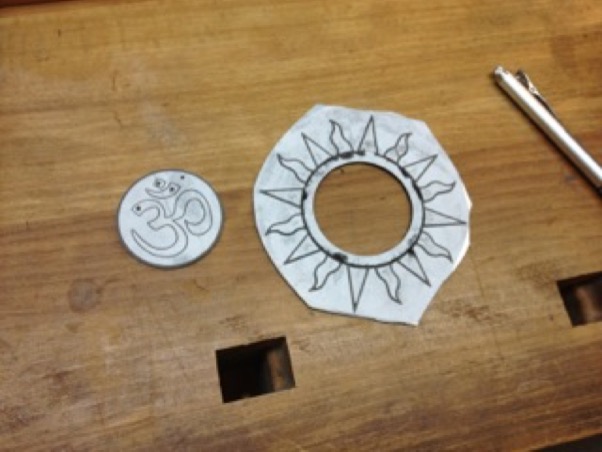
On to the headstock inlay. After I’ve made a bunch of copies of the design, I carefully select the pearl. For this I’m using white Mother of Pearl for everything except the center of the flower, for which I’m using pink mussel shell.
The chatoyance of the pearl, or the way it catches the light, is different from different angles, so it’s important that all the pieces work well with each other. Sometimes I want them all to flash together from a specific viewing angle, and sometimes I want different pieces to light up at different angles.
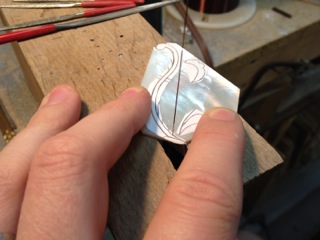
Once I’ve chosen my pieces, I glue the pattern on with some brush-on CA glue. For close fits, I hold the pattern and piece up to a light to make sure the pattern fits completely on the piece.
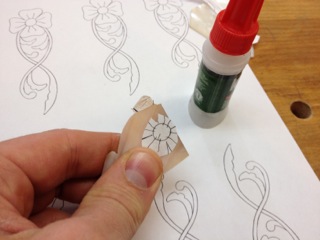
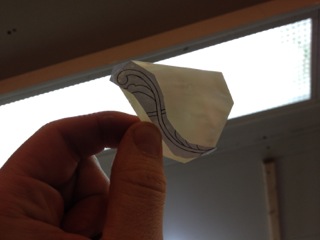
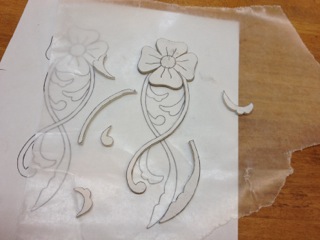
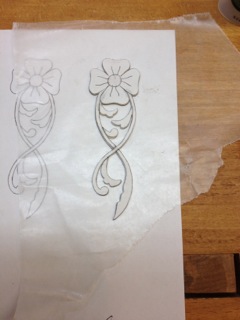
Next I cut out each piece with a jeweler’s saw. Once all the pieces are cut, I lay a piece of wax paper over my pattern and glue them together.
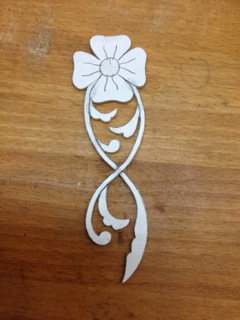
I glue a paper pattern onto the headstock as well. I knife around the design so the paper falls away cleanly as I rout up to the line.
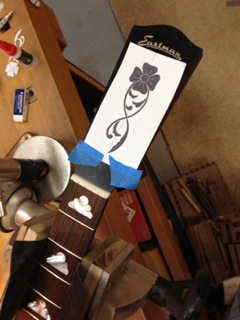
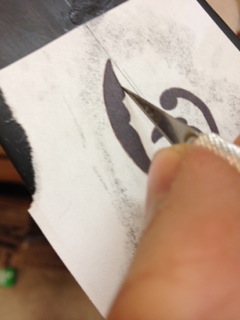
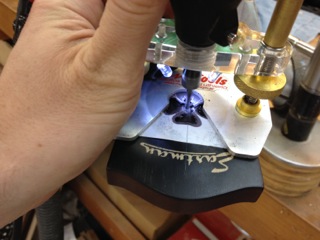
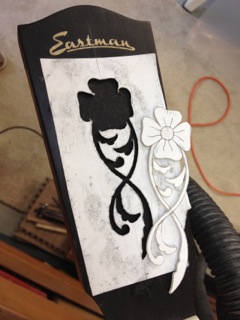
The cavity gets filled with some dyed epoxy, and in she goes.
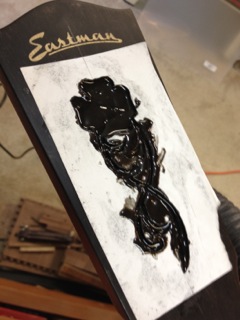
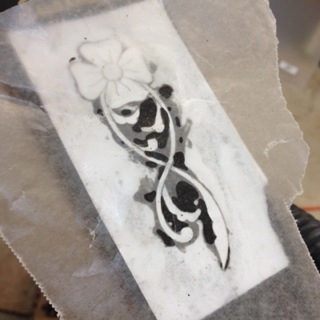
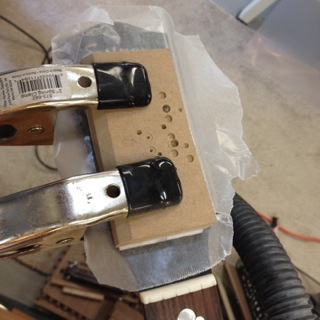
Some spring clamps give me lots of nice squeeze-out.
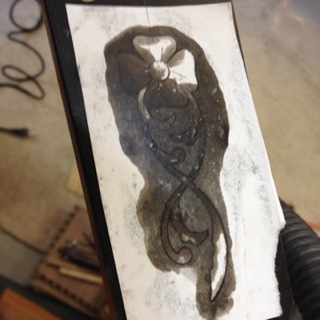
Like with the clouds, I scrape off as much glue as I can before it fully hardens.
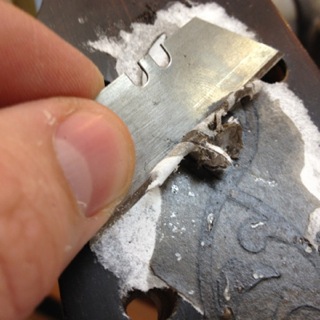
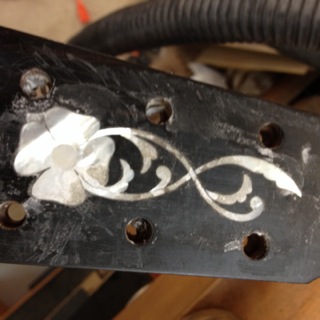
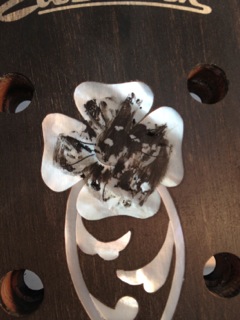
Once everything has been sanded flush and up to the final grit, it’s time for any engraving. The engraving is then rubbed with filler, which is subsequently wiped off.
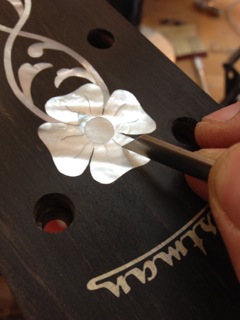
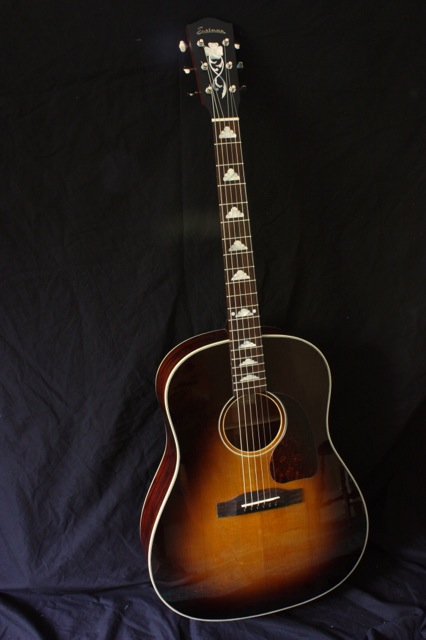
And voila. I really like the way it turned out.
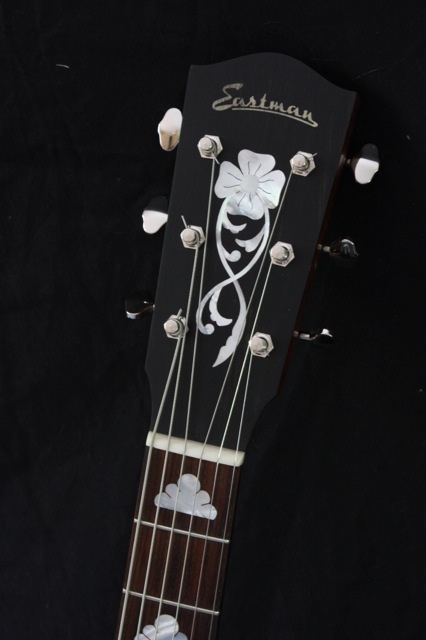
The chatoyance of the pearl, or the way it catches the light, is different from different angles, so it’s important that all the pieces work well with each other. Sometimes I want them all to flash together from a specific viewing angle, and sometimes I want different pieces to light up at different angles.
Once I’ve chosen my pieces, I glue the pattern on with some brush-on CA glue. For close fits, I hold the pattern and piece up to a light to make sure the pattern fits completely on the piece.


Next I cut out each piece with a jeweler’s saw. Once all the pieces are cut, I lay a piece of wax paper over my pattern and glue them together.


I glue a paper pattern onto the headstock as well. I knife around the design so the paper falls away cleanly as I rout up to the line.


The cavity gets filled with some dyed epoxy, and in she goes.


Some spring clamps give me lots of nice squeeze-out.


Like with the clouds, I scrape off as much glue as I can before it fully hardens.


Once everything has been sanded flush and up to the final grit, it’s time for any engraving. The engraving is then rubbed with filler, which is subsequently wiped off.


And voila. I really like the way it turned out.


Finishing Up The Clouds
May/28/14 02:45
Backing up to last week….
Before the epoxy fully cures, I carefully slice off as much as I can. Once it cures, the epoxy I use is as hard as a rock.
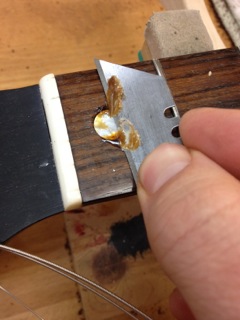
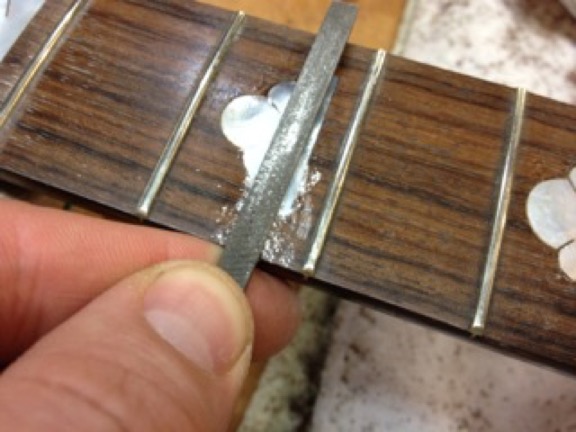
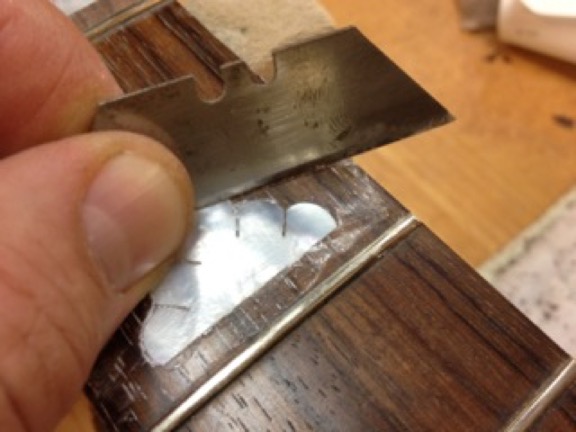
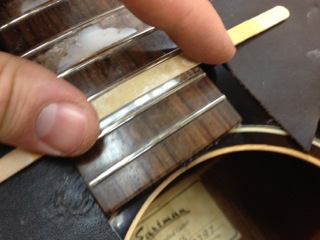
Once the epoxy is fully cured, it’s time to level the pearl and make it flush with the fingerboard. And let me tell you, working between the frets is a pain in the ass, especially up near the end. I start with a small file, and once I start getting really close, I switch to a razor and use it just like a card scraper. I figured out a few years ago that pearl scrapes really well. After that, I move on to a series of wooden coffee stirrers to which I’ve glued various grits of sandpaper.
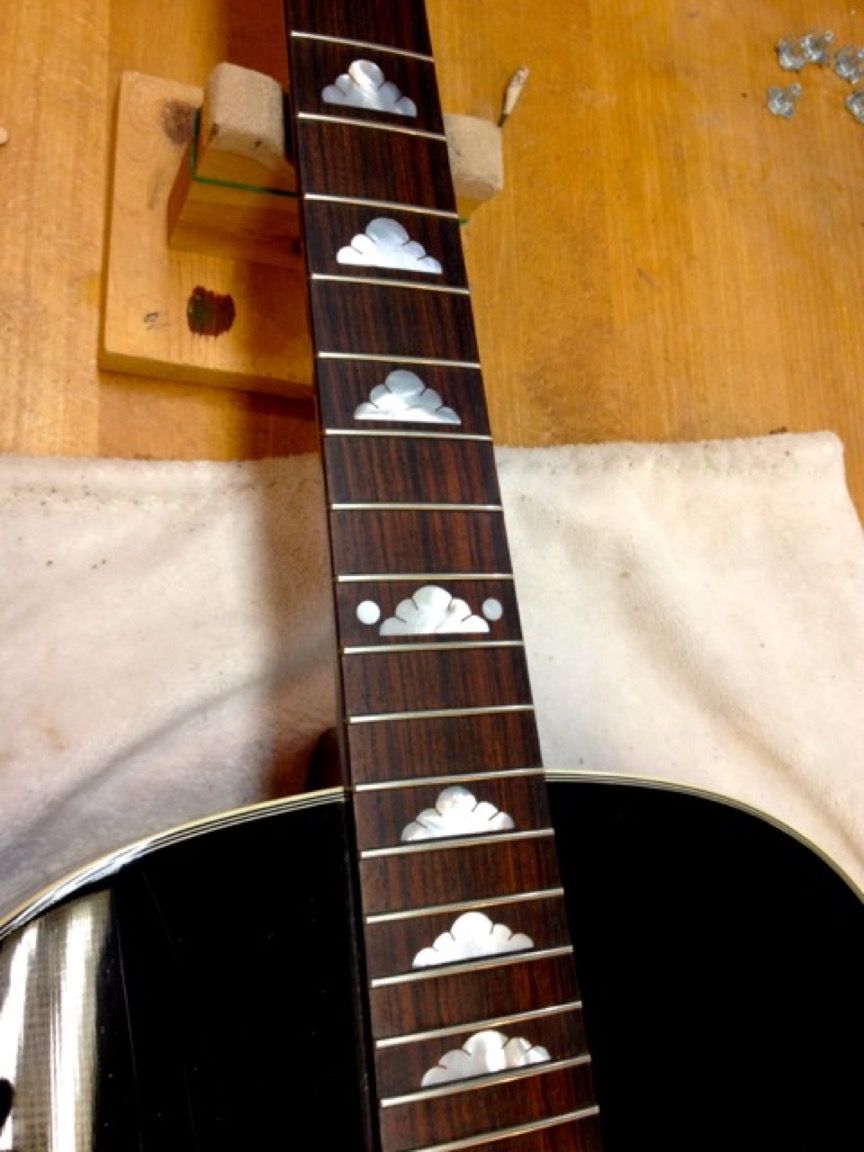
Here it is all done with some fingerboard oil! Stay tuned for full frontal shots - I’m adding an inlay to the headstock as well first.
Before the epoxy fully cures, I carefully slice off as much as I can. Once it cures, the epoxy I use is as hard as a rock.

Once the epoxy is fully cured, it’s time to level the pearl and make it flush with the fingerboard. And let me tell you, working between the frets is a pain in the ass, especially up near the end. I start with a small file, and once I start getting really close, I switch to a razor and use it just like a card scraper. I figured out a few years ago that pearl scrapes really well. After that, I move on to a series of wooden coffee stirrers to which I’ve glued various grits of sandpaper.


Here it is all done with some fingerboard oil! Stay tuned for full frontal shots - I’m adding an inlay to the headstock as well first.

Clouds Continued
May/23/14 10:20
With the cavities all routed, it’s time to glue the clouds in. But first I put some paste wax on the fingerboard surrounding the cavities so the epoxy doesn’t stick there. I also score the bottoms of the cavities for better adhesion.
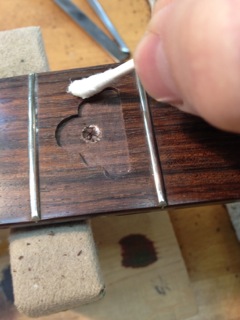
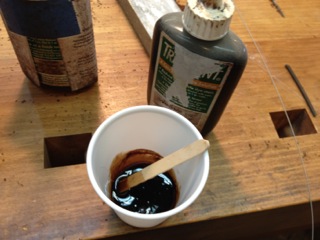
I mix up some epoxy and color it just right with some dye.
Then fill each cavity with enough so that it squeezes out and fills in the little accent cuts on the clouds and any small gaps.
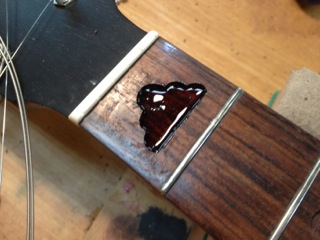
Like that.
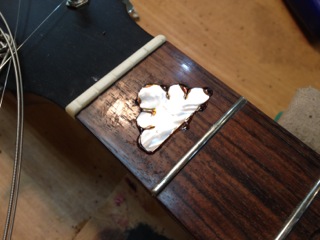
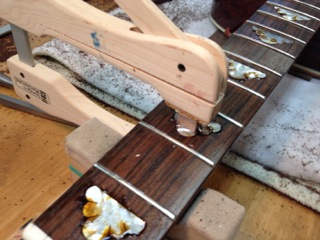
One of them needed a little help staying down.. Now it’s time to wait for the epoxy to cure.

I mix up some epoxy and color it just right with some dye.

Then fill each cavity with enough so that it squeezes out and fills in the little accent cuts on the clouds and any small gaps.

Like that.

One of them needed a little help staying down.. Now it’s time to wait for the epoxy to cure.

Clouds
May/20/14 02:54
And now for an actual CURRENT blog post. That’s right, this stuff actually happened today!
A nice gentleman back in Colorado wanted some cloud inlays put into his Eastman dreadnaught, so he sent the guitar out here to me, along with some pre-cut pearl clouds. He asked if I could take some before and during and after pictures, and I thought, “Why not put them on this here blog that I’ve resurrected?” So here goes…
First, the clouds needed some touching up with the file. Whoever cut them out did a decent job, but not great.
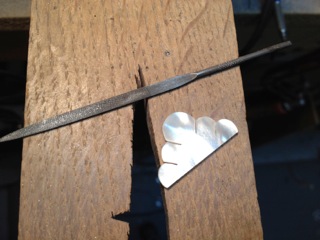
The next step is to temporarily glue each one down and get it perfectly in place. Just a couple drops of wood glue will do the trick.
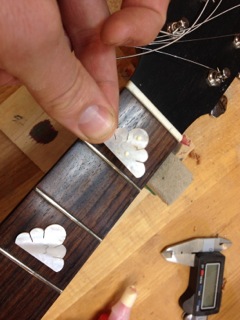
Next I scribed around each cloud with a steel scribe:
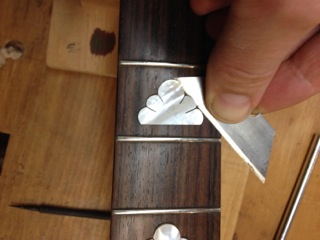
Then I slide a razor under them to remove them:
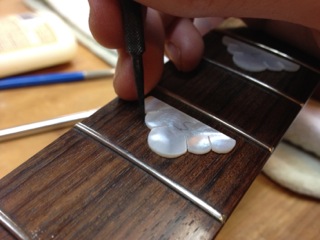
Then I actually traced my scribed line again with a razor knife for a more crisp line. After that I rubbed a little chalk in there to highlight the lines.
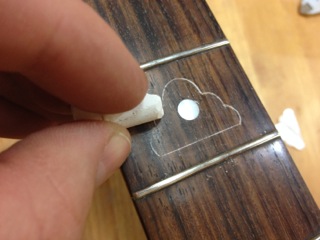
Next, I drilled out the old pearl dots (execpt at the 12th fret, where we decided to leave them in). I don’t want to ruin my nice carbide router bit.
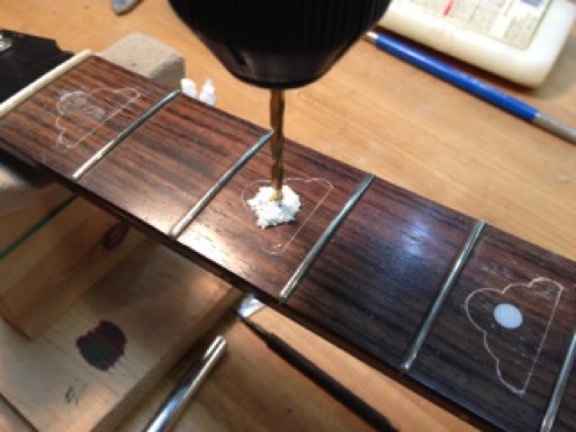
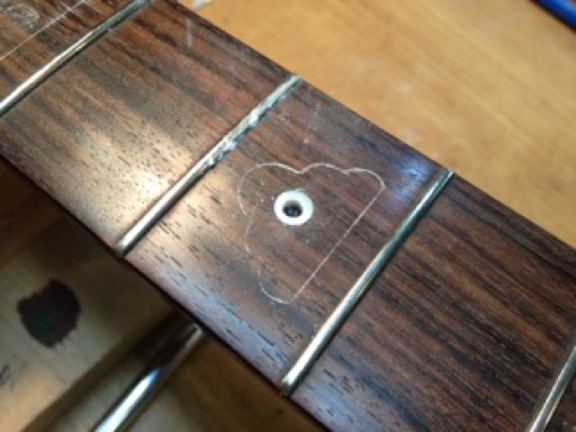
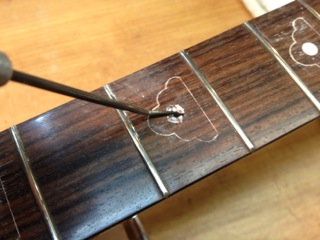
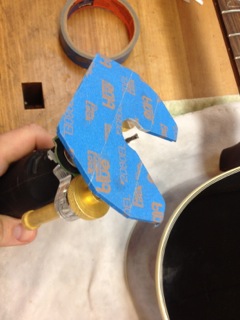
I taped up the bottom of my router base so as not to scratch the frets:
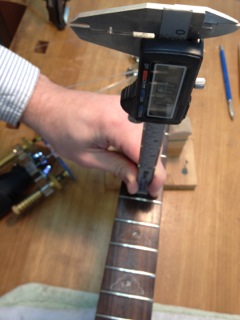
And check my depth of cut. I want the pearl to be perfectly flush with the top of the fingerboard right in the middle. It’s going to be a bit proud on both sides due to the radius of the fingerboard.
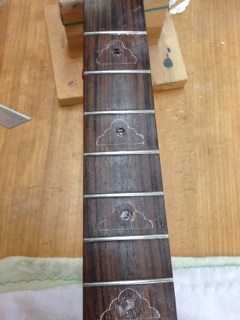
Routing time. I go right up to the line wherever I can.
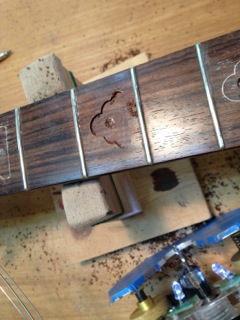
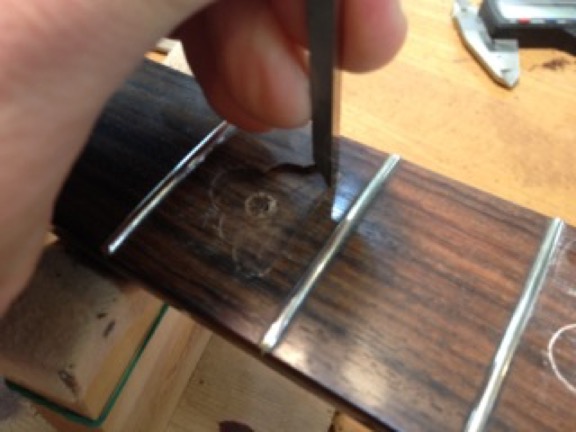
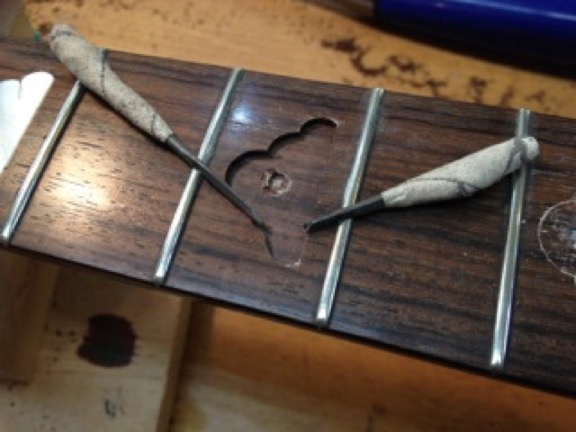
Then I clean up the corners with chisels, including my extra tiny guys that I made from needle files:
So far so good. More later
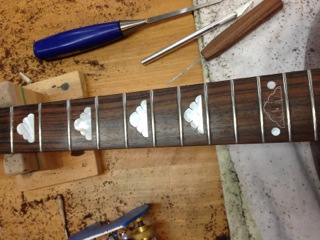
A nice gentleman back in Colorado wanted some cloud inlays put into his Eastman dreadnaught, so he sent the guitar out here to me, along with some pre-cut pearl clouds. He asked if I could take some before and during and after pictures, and I thought, “Why not put them on this here blog that I’ve resurrected?” So here goes…
First, the clouds needed some touching up with the file. Whoever cut them out did a decent job, but not great.

The next step is to temporarily glue each one down and get it perfectly in place. Just a couple drops of wood glue will do the trick.

Next I scribed around each cloud with a steel scribe:

Then I slide a razor under them to remove them:

Then I actually traced my scribed line again with a razor knife for a more crisp line. After that I rubbed a little chalk in there to highlight the lines.

Next, I drilled out the old pearl dots (execpt at the 12th fret, where we decided to leave them in). I don’t want to ruin my nice carbide router bit.


I taped up the bottom of my router base so as not to scratch the frets:

And check my depth of cut. I want the pearl to be perfectly flush with the top of the fingerboard right in the middle. It’s going to be a bit proud on both sides due to the radius of the fingerboard.

Routing time. I go right up to the line wherever I can.

Then I clean up the corners with chisels, including my extra tiny guys that I made from needle files:


So far so good. More later

Dr. Mike's guitar
May/20/14 11:50
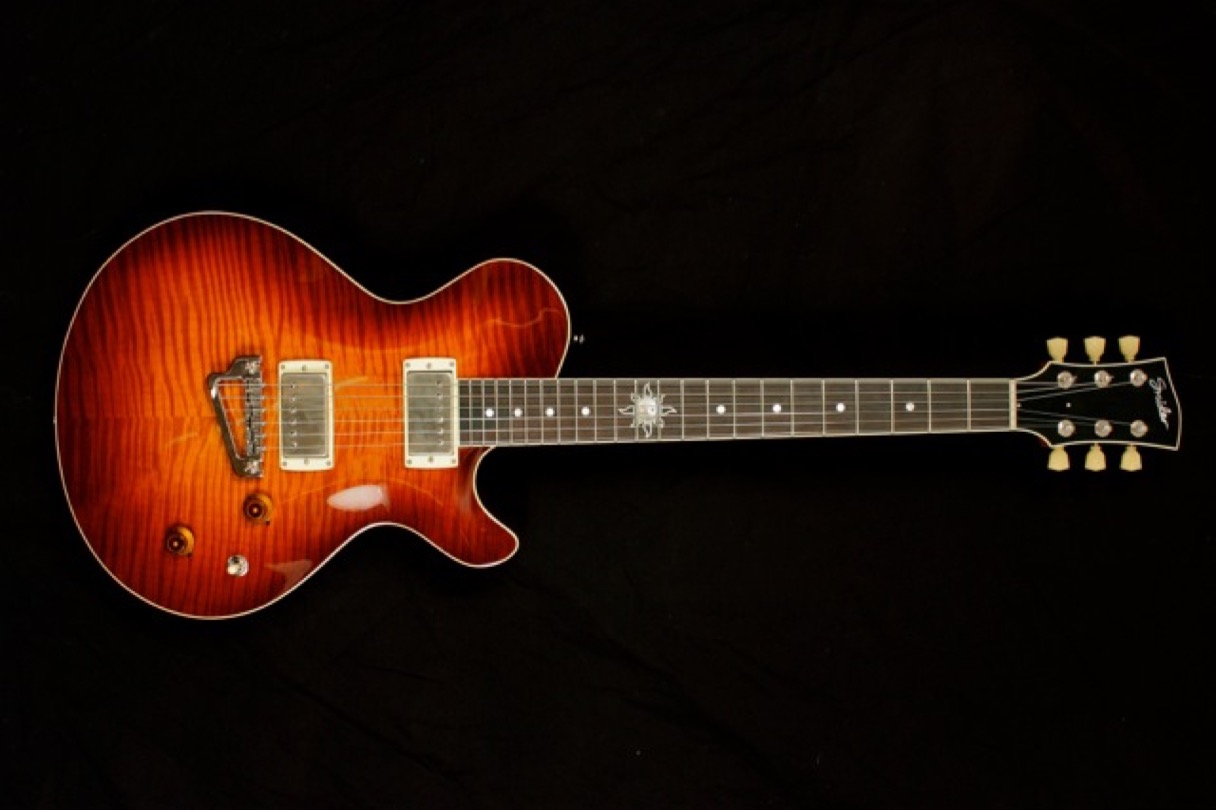
This here is Dr. Mike’s third Snider guitar, a Rocco P with curly Maple top, BRW fingerboard, and genuine Mahogany body and neck. I really hated to see it go, but since he paid me and all….
This one was completed about 2 years ago. Right before I moved to NY, actually. In fact, this was the last Snider guitar build in Denver.
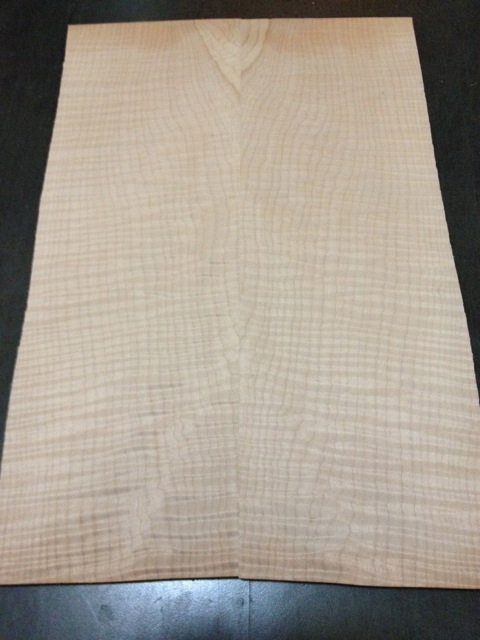
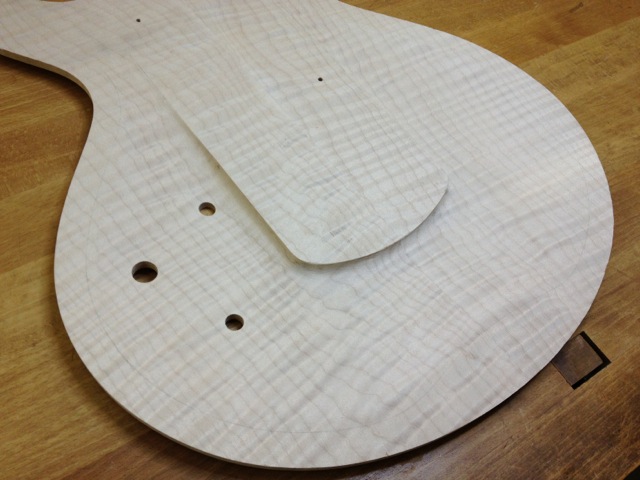
Here’s the curly maple top all book matched and glued up:
:
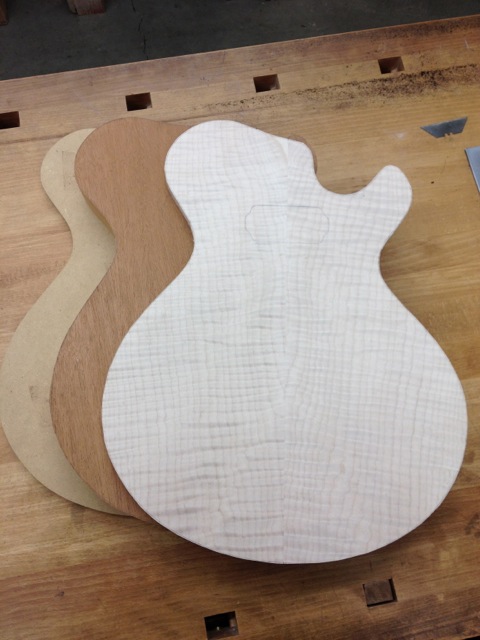
And the body and top cut to size:
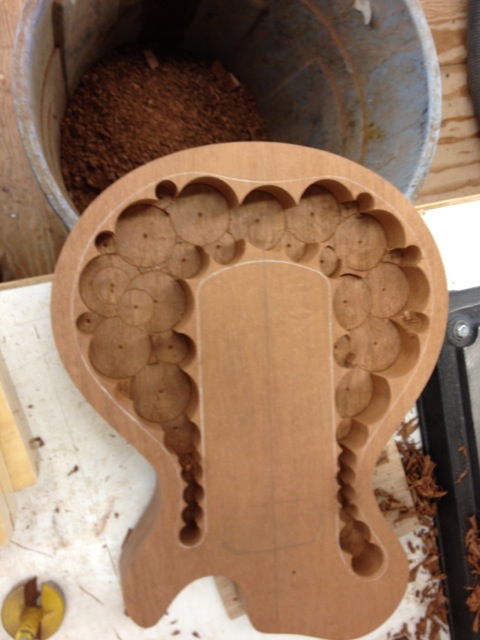
Hogging out the chamber with the drill press again:
Then clean up with the router and template:
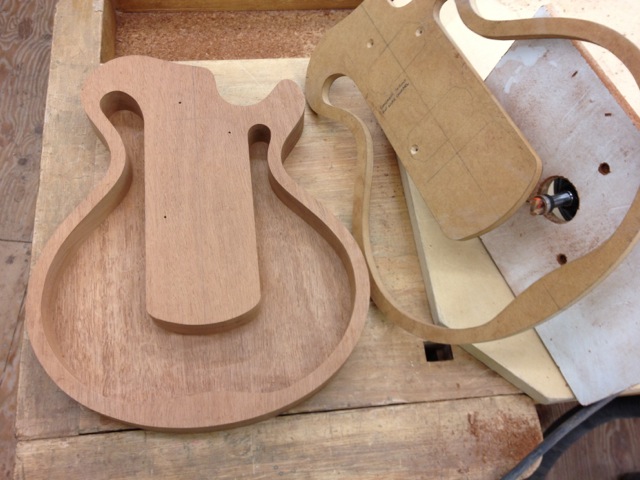
Here the inside of the top has been carved and cleaned up:
Truing up the neck blank:
And cutting out a couple one-piece necks:
Truss rod channel routed:
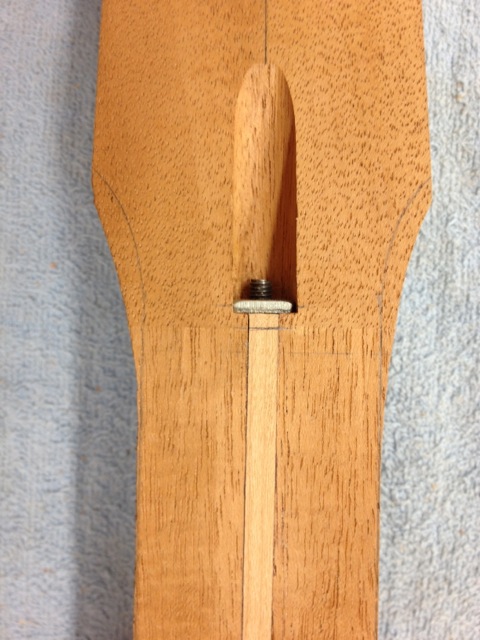
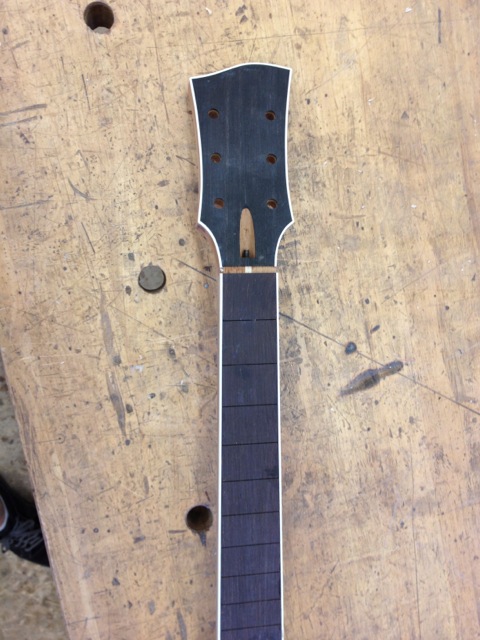
Jumping ahead a little with the neck. I can’t seem to find any more progress pictures of this. Some more nice, dark BRW though:
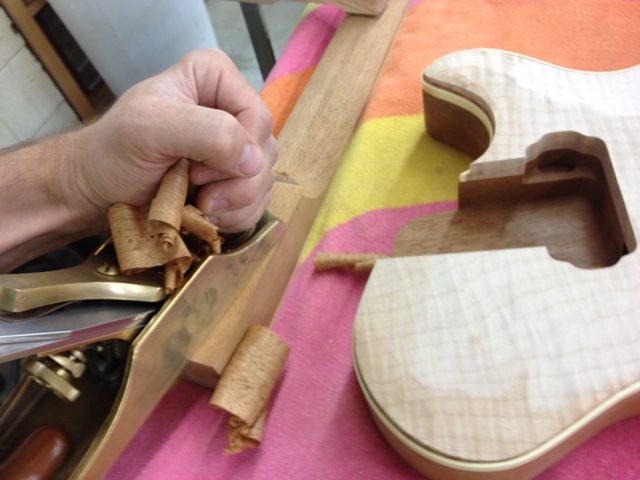
And putting the correct angle on the bottom of the tenon. I leave the bottom of the neck pocket flat. Also notice that the top is only roughly carved. I finish that up once the neck is fitted exactly right.
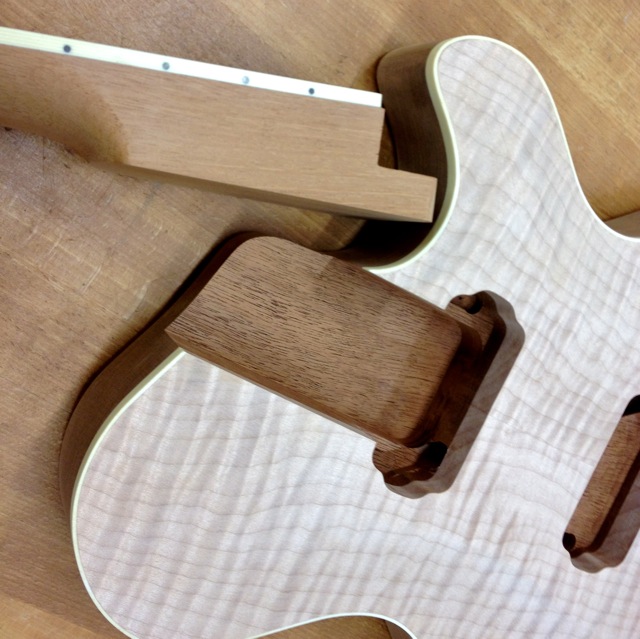
Looking goodly.
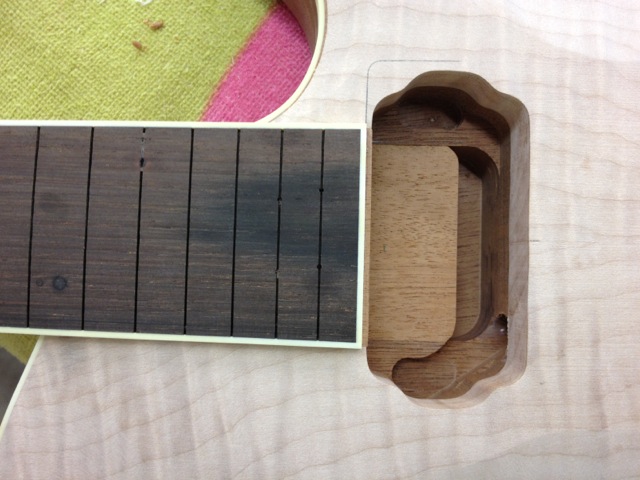
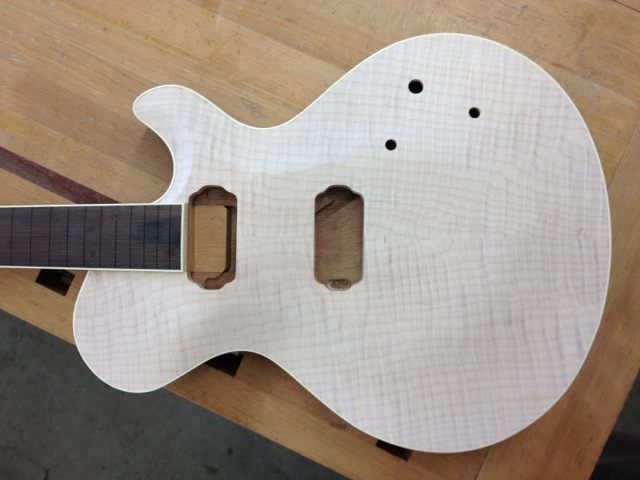
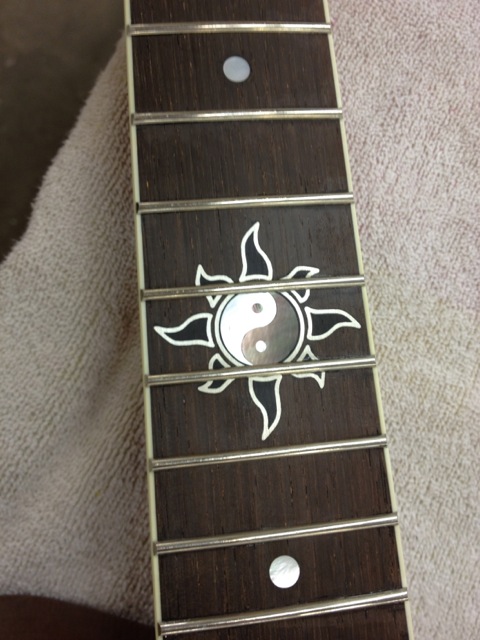
Fingerboard inlaid and fretted. Again, some missing shots, obviously.
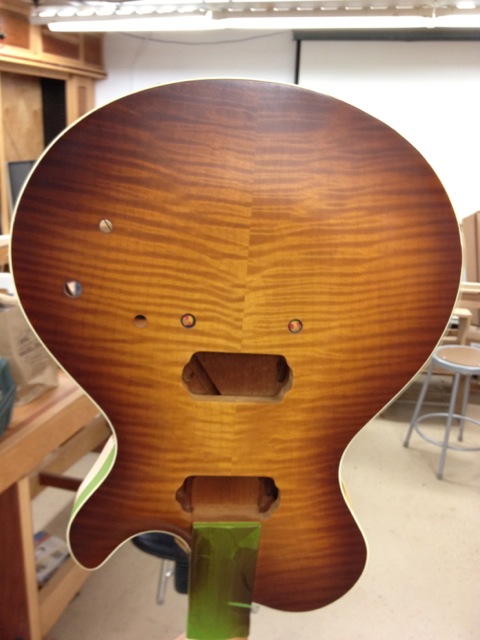
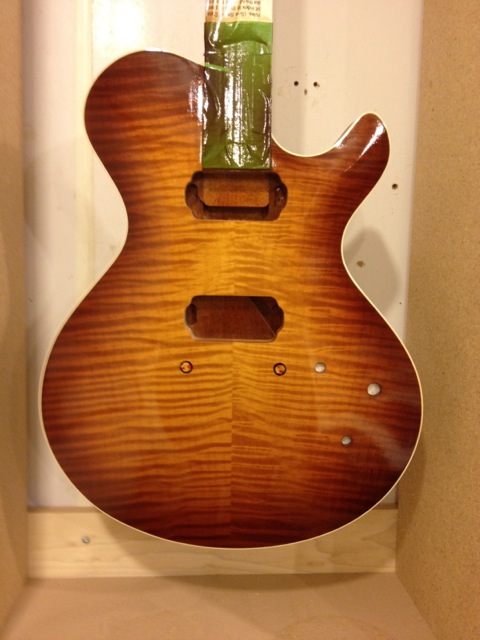
Into da boot for color coats and clear coats:
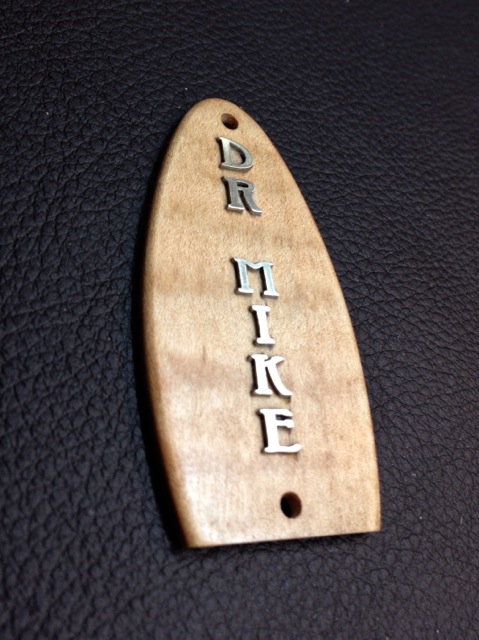
And a little custom truss rod cover. That wasn’t easy. The letters are nickel silver. And even though they’re proud of the surface, they’re actually inlaid into the maple. I carved the cavities out with an exacto knife.
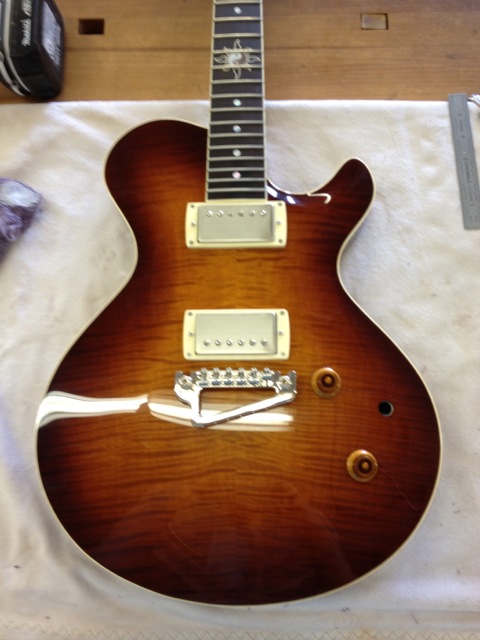
Ready for assembly
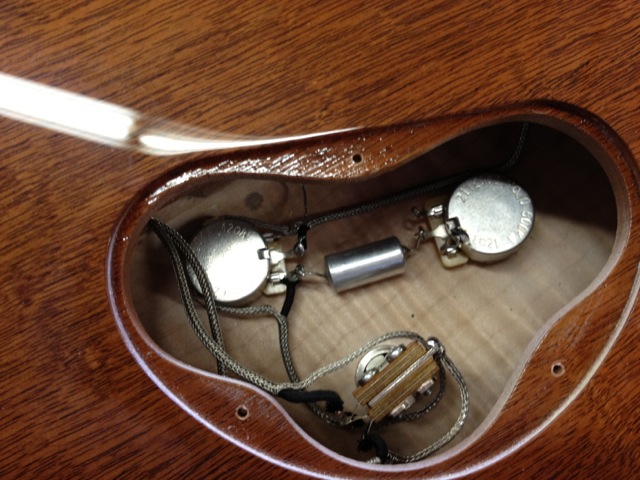
Wiring it up
Shazam! Now it gets lots of love from Dr. Mike, who’s a great player, (and an awesome dude) by the way.
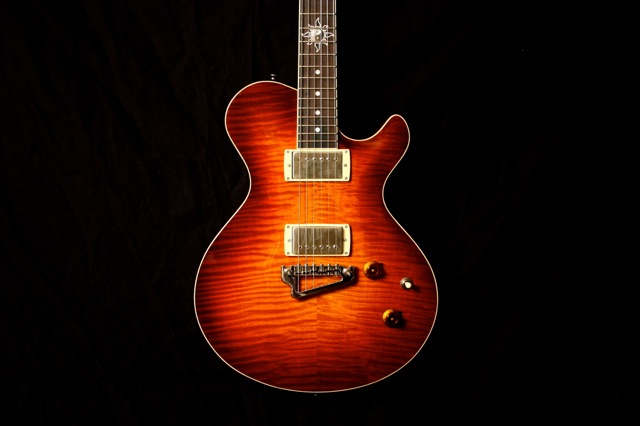
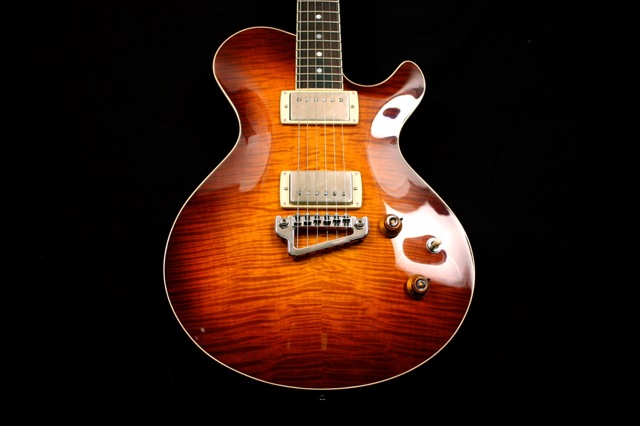
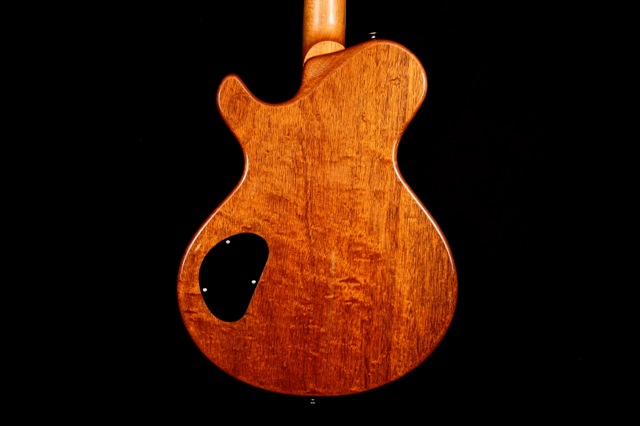
This one was completed about 2 years ago. Right before I moved to NY, actually. In fact, this was the last Snider guitar build in Denver.

Here’s the curly maple top all book matched and glued up:
:

And the body and top cut to size:

Hogging out the chamber with the drill press again:

Then clean up with the router and template:

Here the inside of the top has been carved and cleaned up:

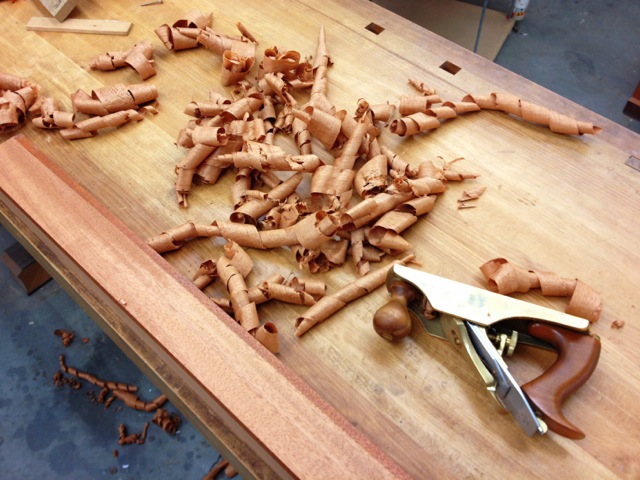
Truing up the neck blank:

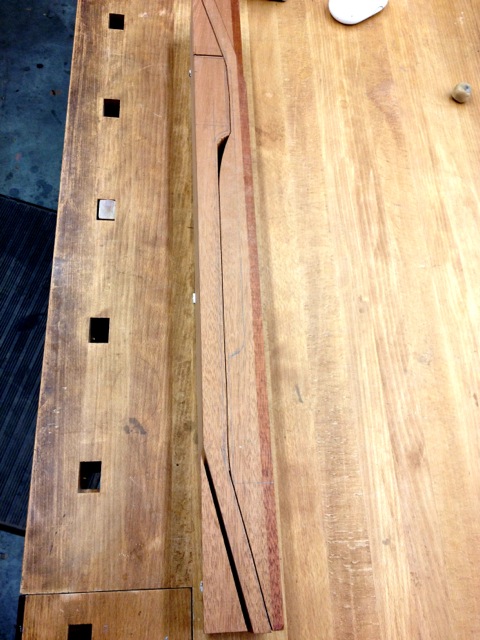
And cutting out a couple one-piece necks:

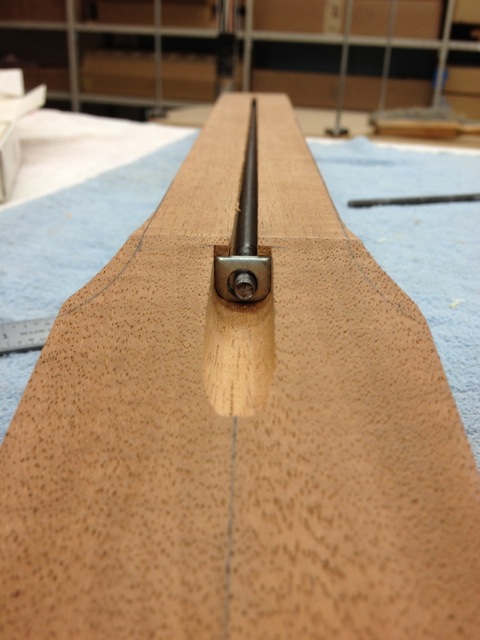
Truss rod channel routed:


Jumping ahead a little with the neck. I can’t seem to find any more progress pictures of this. Some more nice, dark BRW though:

And putting the correct angle on the bottom of the tenon. I leave the bottom of the neck pocket flat. Also notice that the top is only roughly carved. I finish that up once the neck is fitted exactly right.


Looking goodly.


Fingerboard inlaid and fretted. Again, some missing shots, obviously.

Into da boot for color coats and clear coats:


And a little custom truss rod cover. That wasn’t easy. The letters are nickel silver. And even though they’re proud of the surface, they’re actually inlaid into the maple. I carved the cavities out with an exacto knife.

Ready for assembly

Wiring it up

Shazam! Now it gets lots of love from Dr. Mike, who’s a great player, (and an awesome dude) by the way.


Building Neptune
May/20/14 11:21
This one’s from a few years ago, while I was still in Denver. A good friend and client of mine (we’ll call him “Brandon”) commissioned a totally custom build with some very specific ideas in mind. He even designed his own body shape. Normally I don’t let people do that, but Brandon is a great guy, and his design was pretty great too, so what the hell. Here are some pictures of the process that have been sitting on my ‘puter for several years now.
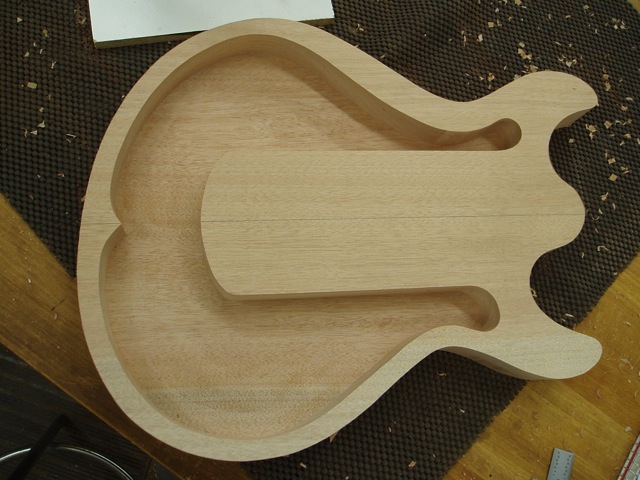
This is the body with the chamber hogged out by various sized forester bits:
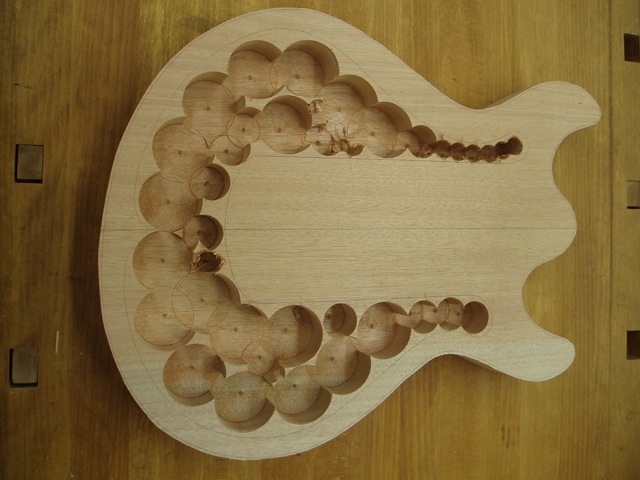
And after cleaning it up with the router:
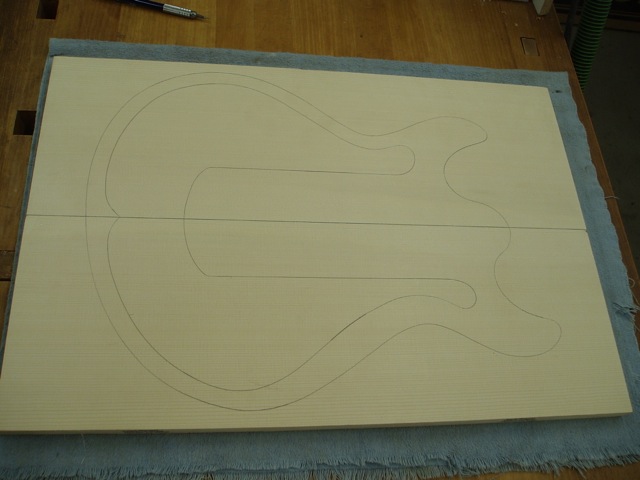
And the gorgeous German Spruce top with layout lines for carving the inside:
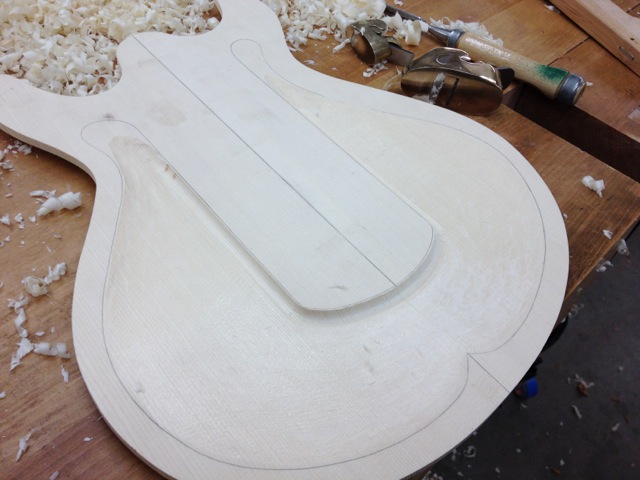
Carving the inside. This takes quite a while. I establish the innermost carve with a router, and then carve the rest out with finger planes, carving tools, and scrapers.
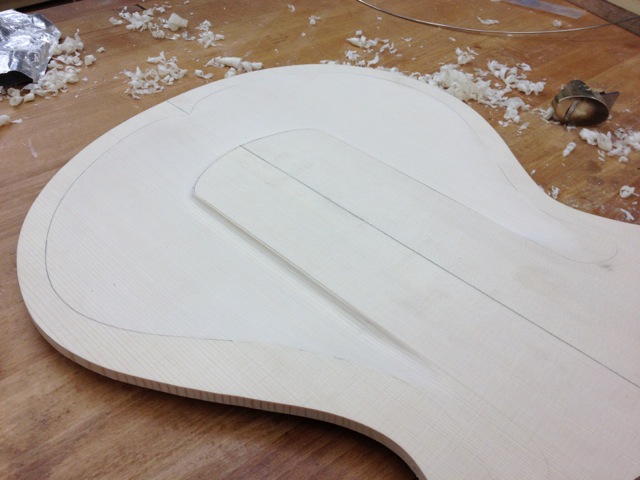
Carving the outside as well. That spruce was a dream to work with. A dream, I tell you.
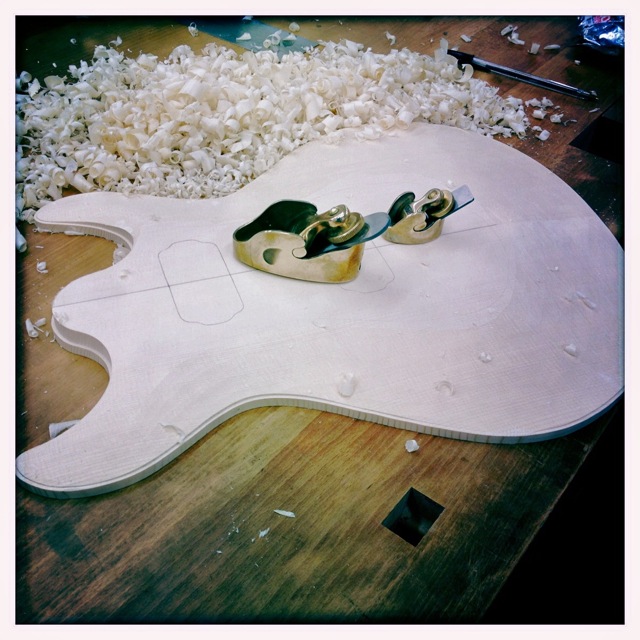
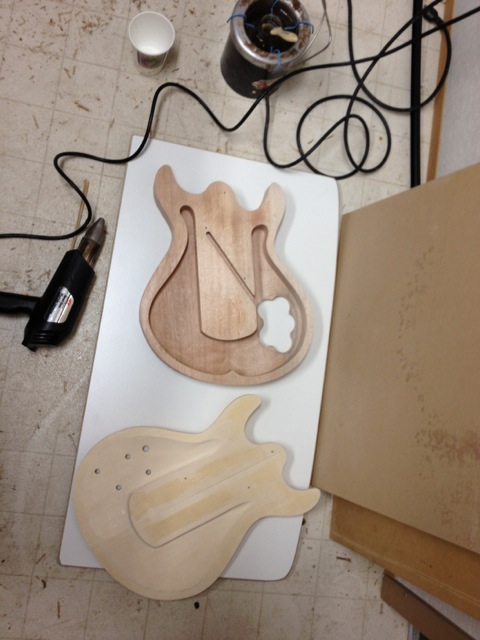
Getting ready to glue the top on with some hot hide glue. The heat gun is to get the wood nice and warm to give me some extra assembly time.
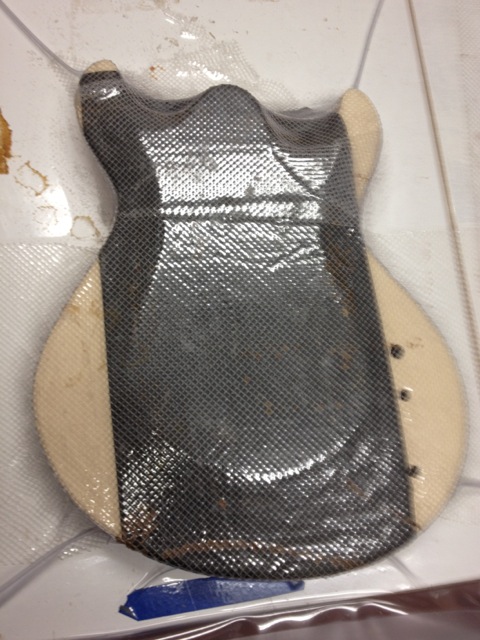
Into the vacuum bag it goes.
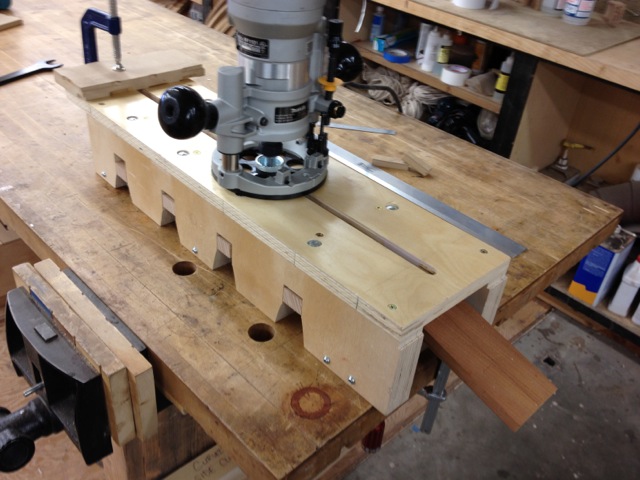
On to the neck. This is my truss rod routing jig. The top of the jig is flat, but the neck itself is clamped into a curve, so the resulting channel is curved as well.
Here’s the headstock and fingerboard getting ready for binding:
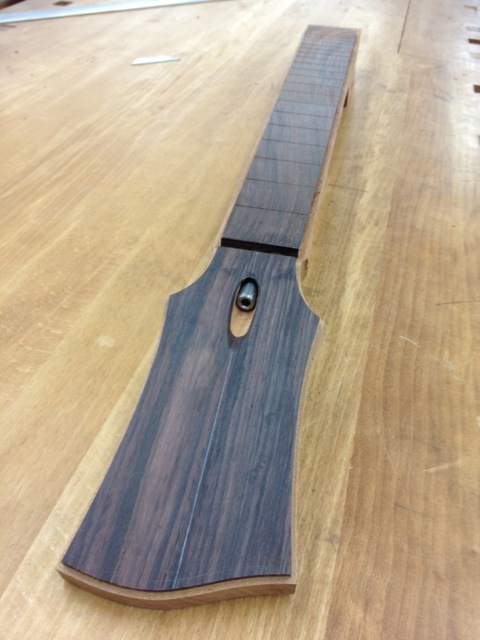
One piece at a time. I use CA glue for this. I’ve found it’s much stronger than any of the other glues commonly used for this.
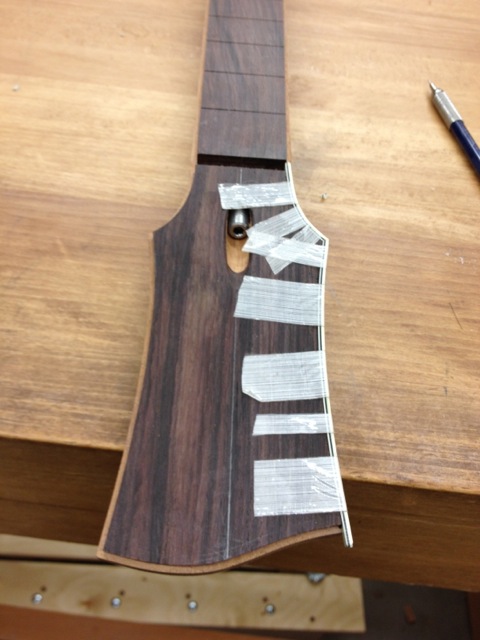
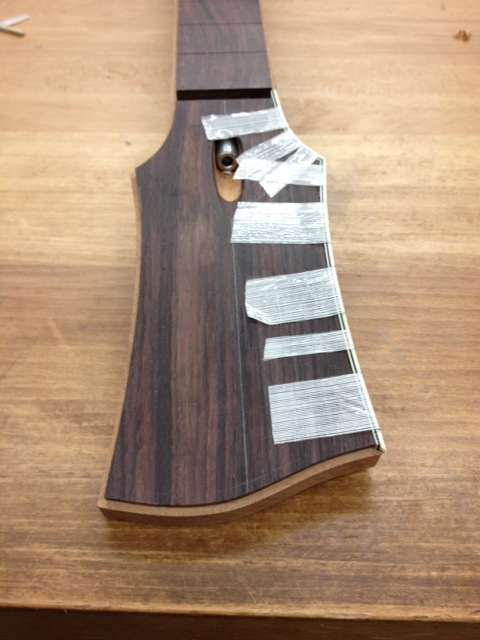
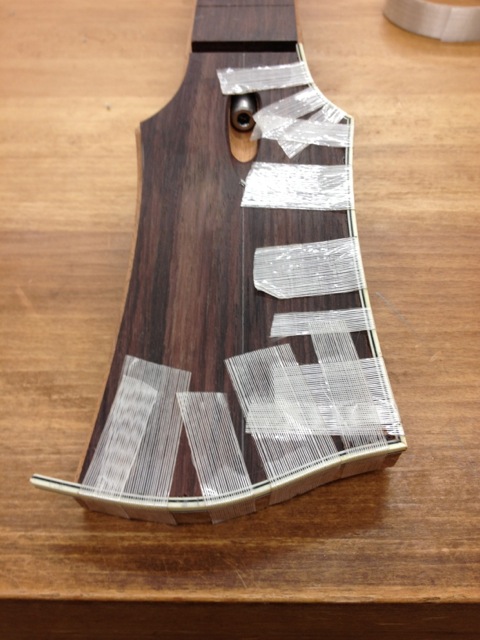
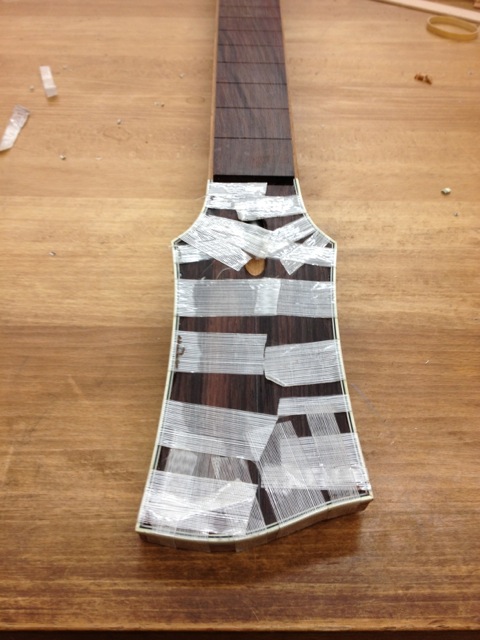
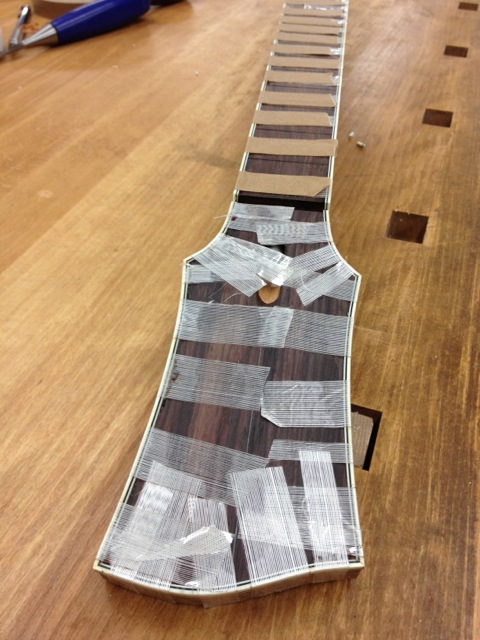
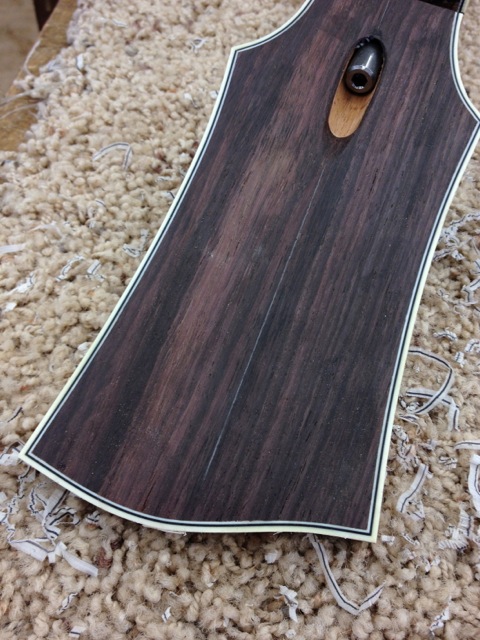
Skipping ahead to the inlay on some nice BRW. I guess I didn’t take any shots of working on the inlay….
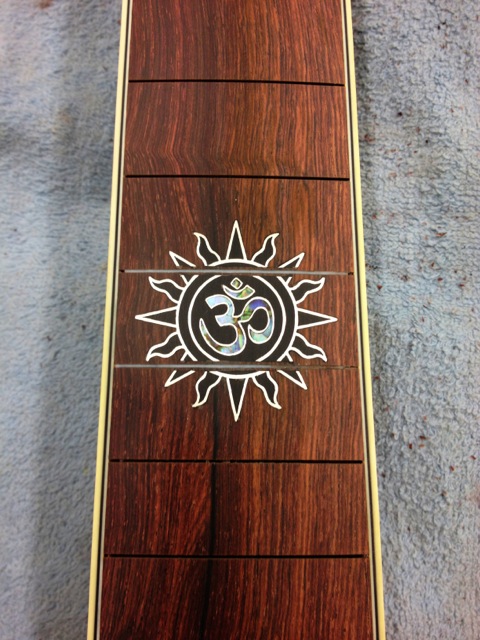
Getting a nice fit on the neck joint. There’s a whole lotta tenon in there.
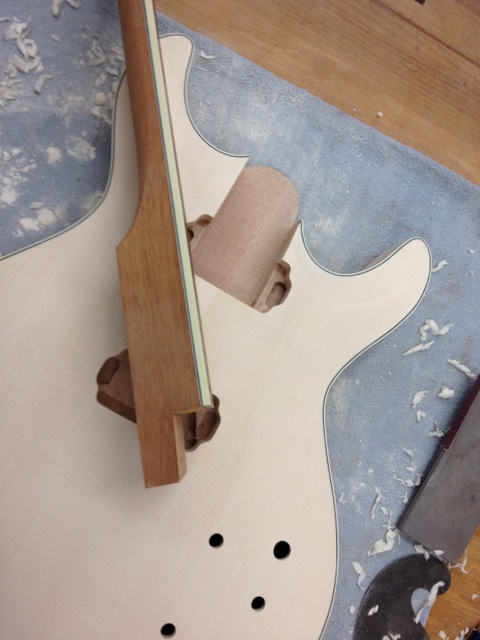
And gluing it in with some more hot hide glue:
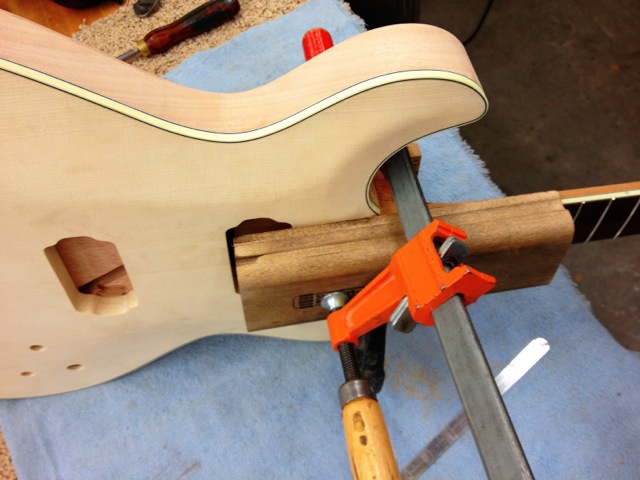
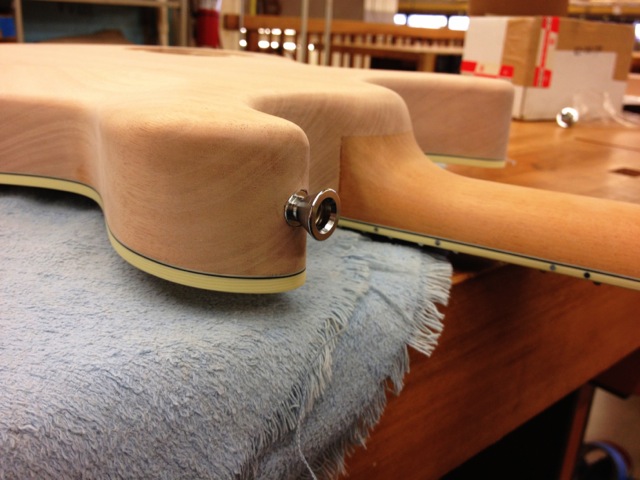
Shaping the heel to Brandon’s specifications:
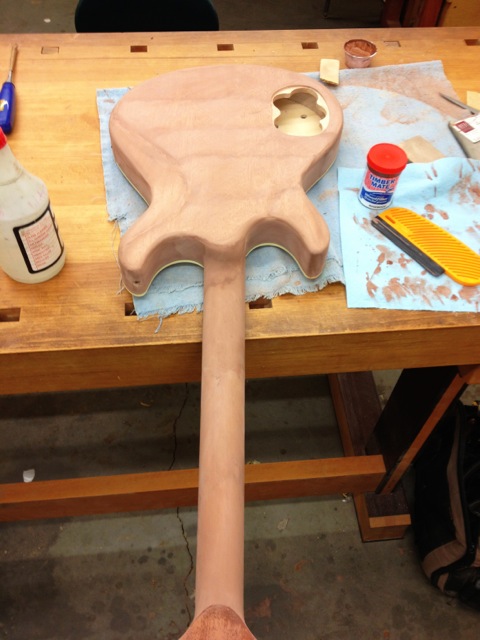
Pore filling. Not my favorite part of the process. But more fun than sanding.
Fast forward a little, and she’s in the booth getting a seal coat:
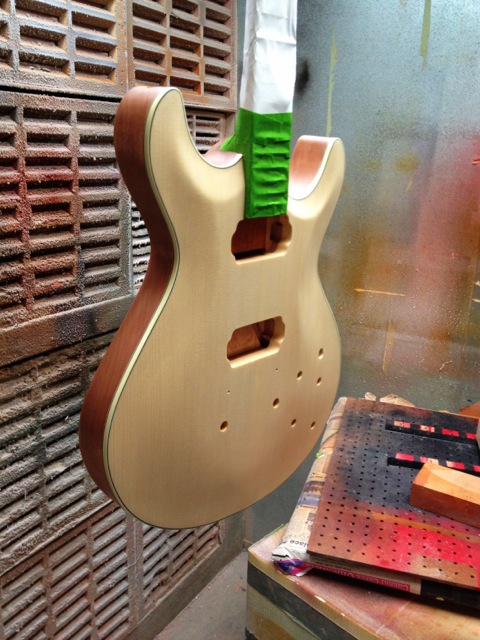
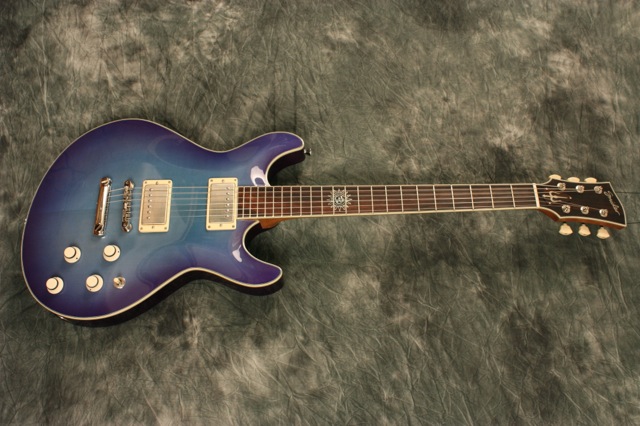
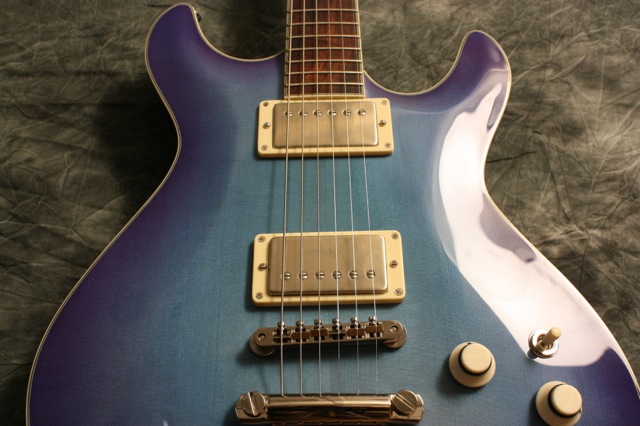
And some color. It’s actually really hard to capture this color. There’s definitely some purple around the edge of the top.
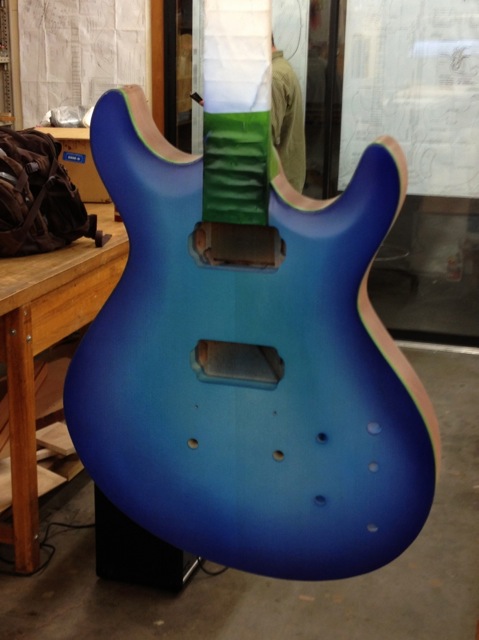
And some more color
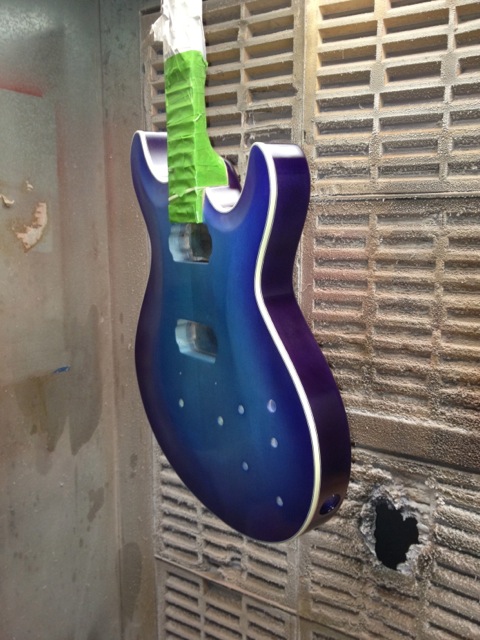
And some clear coats
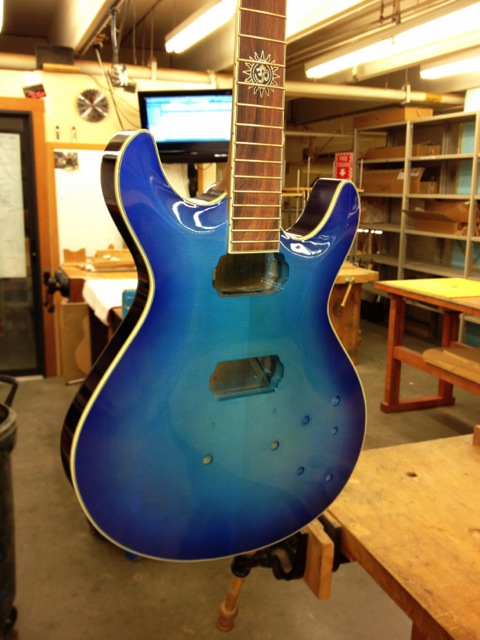
Fast forward again past a lot of wet sanding and buffing and assembly
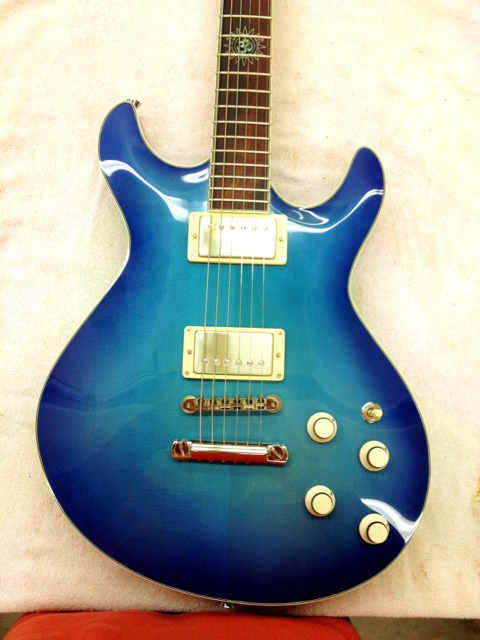
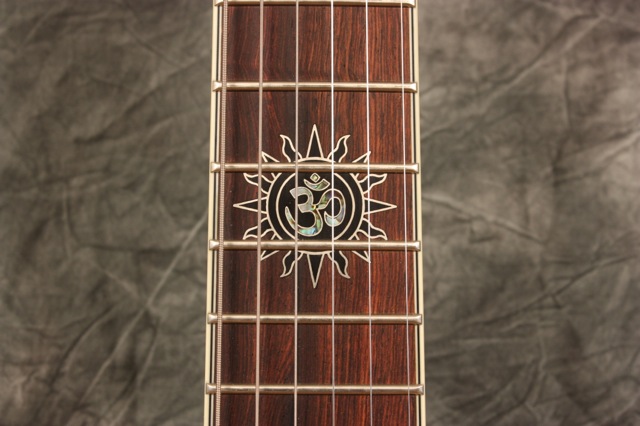
Turned out pretty nicely, I’d say.
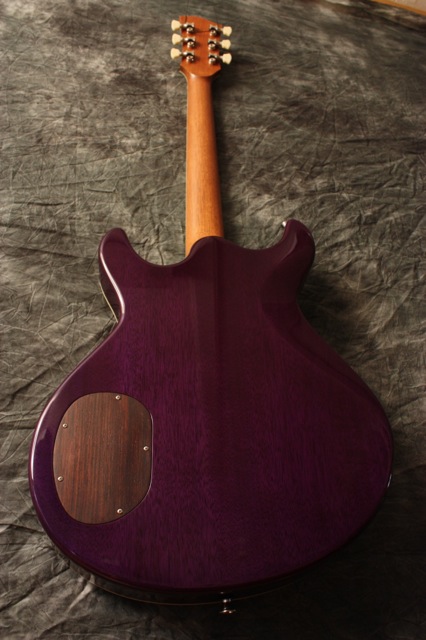
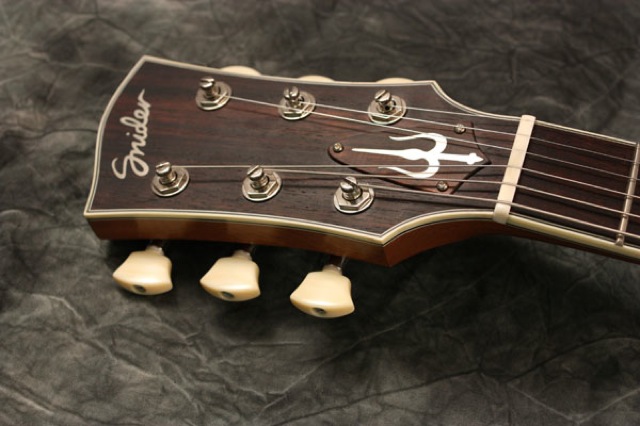
This is the body with the chamber hogged out by various sized forester bits:

And after cleaning it up with the router:

And the gorgeous German Spruce top with layout lines for carving the inside:

Carving the inside. This takes quite a while. I establish the innermost carve with a router, and then carve the rest out with finger planes, carving tools, and scrapers.


Carving the outside as well. That spruce was a dream to work with. A dream, I tell you.

Getting ready to glue the top on with some hot hide glue. The heat gun is to get the wood nice and warm to give me some extra assembly time.

Into the vacuum bag it goes.

On to the neck. This is my truss rod routing jig. The top of the jig is flat, but the neck itself is clamped into a curve, so the resulting channel is curved as well.

Here’s the headstock and fingerboard getting ready for binding:

One piece at a time. I use CA glue for this. I’ve found it’s much stronger than any of the other glues commonly used for this.


Skipping ahead to the inlay on some nice BRW. I guess I didn’t take any shots of working on the inlay….

Getting a nice fit on the neck joint. There’s a whole lotta tenon in there.

And gluing it in with some more hot hide glue:

Shaping the heel to Brandon’s specifications:

Pore filling. Not my favorite part of the process. But more fun than sanding.

Fast forward a little, and she’s in the booth getting a seal coat:

And some color. It’s actually really hard to capture this color. There’s definitely some purple around the edge of the top.

And some more color

And some clear coats

Fast forward again past a lot of wet sanding and buffing and assembly

Turned out pretty nicely, I’d say.


Blog Revival!
May/18/14 07:52
I just remembered I have a blog! When I made my Snider Guitar facebook page, I guess it kinda bit the dust. Apparently that was about three and a half years ago. But last night I was trying to clean up all of the photos on my computer, and I realized that I have a ton of guitar building and inlay pictures that I’ve never done anything with. And rather than blow up the facebooks, I think I’ll put them in here. Then I’ll put a link on the facebook page letting everyone know I’ve updated the blog. Then maybe I’ll put out a tweet about the facebook update about the blog. Enjoy!
