
Clouds
May/20/14 02:54
And now for an actual CURRENT blog post. That’s right, this stuff actually happened today!
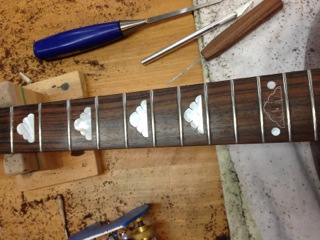
A nice gentleman back in Colorado wanted some cloud inlays put into his Eastman dreadnaught, so he sent the guitar out here to me, along with some pre-cut pearl clouds. He asked if I could take some before and during and after pictures, and I thought, “Why not put them on this here blog that I’ve resurrected?” So here goes…
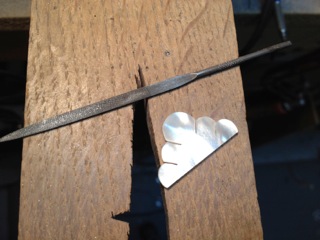
First, the clouds needed some touching up with the file. Whoever cut them out did a decent job, but not great.
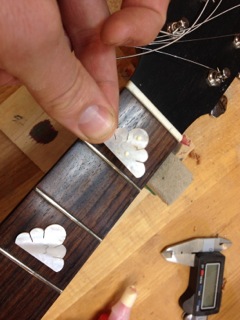
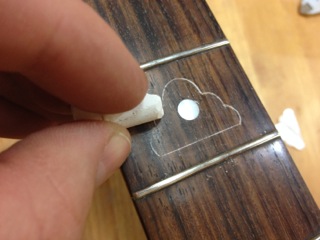
The next step is to temporarily glue each one down and get it perfectly in place. Just a couple drops of wood glue will do the trick.
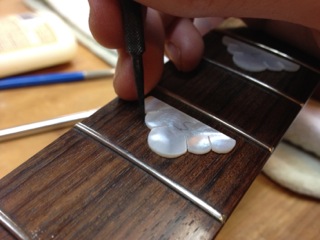
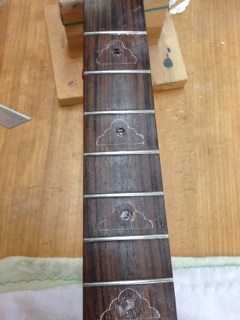
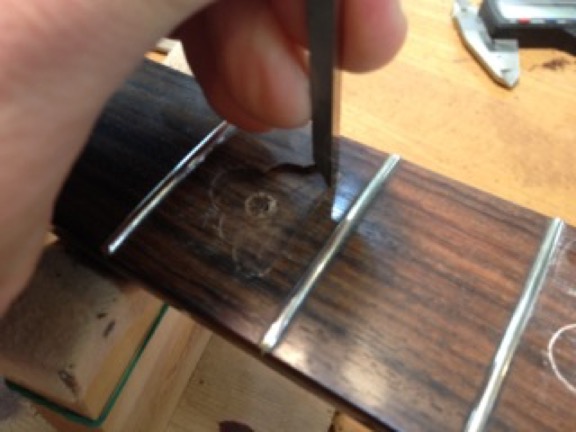
Next I scribed around each cloud with a steel scribe:
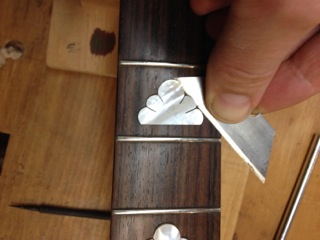
Then I slide a razor under them to remove them:
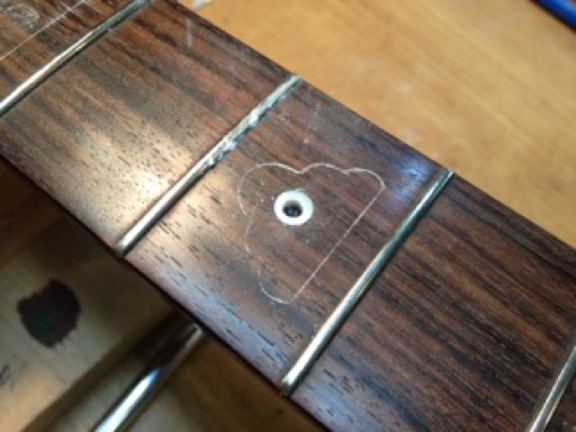
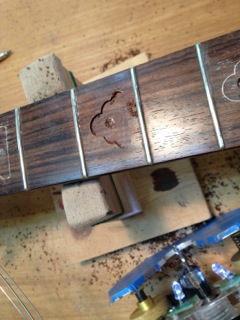
Then I actually traced my scribed line again with a razor knife for a more crisp line. After that I rubbed a little chalk in there to highlight the lines.
Next, I drilled out the old pearl dots (execpt at the 12th fret, where we decided to leave them in). I don’t want to ruin my nice carbide router bit.

I taped up the bottom of my router base so as not to scratch the frets:
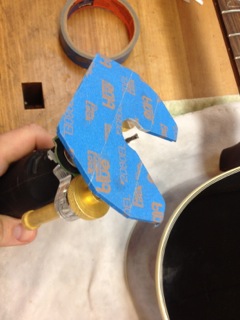
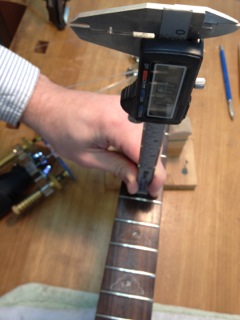
And check my depth of cut. I want the pearl to be perfectly flush with the top of the fingerboard right in the middle. It’s going to be a bit proud on both sides due to the radius of the fingerboard.
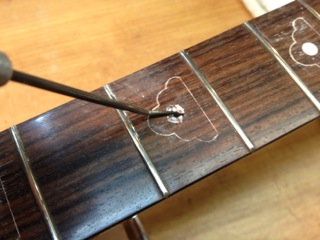
Routing time. I go right up to the line wherever I can.
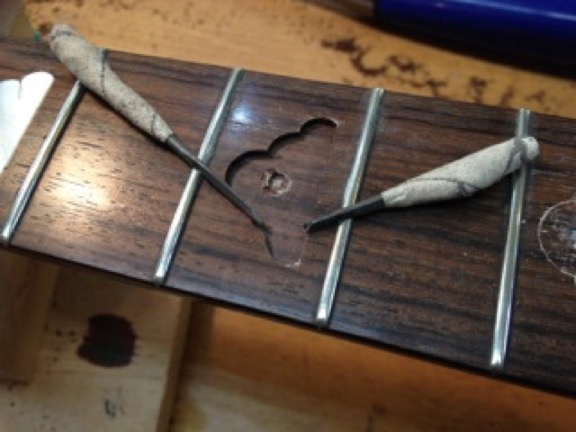
Then I clean up the corners with chisels, including my extra tiny guys that I made from needle files:
So far so good. More later
A nice gentleman back in Colorado wanted some cloud inlays put into his Eastman dreadnaught, so he sent the guitar out here to me, along with some pre-cut pearl clouds. He asked if I could take some before and during and after pictures, and I thought, “Why not put them on this here blog that I’ve resurrected?” So here goes…
First, the clouds needed some touching up with the file. Whoever cut them out did a decent job, but not great.
The next step is to temporarily glue each one down and get it perfectly in place. Just a couple drops of wood glue will do the trick.
Next I scribed around each cloud with a steel scribe:
Then I slide a razor under them to remove them:
Then I actually traced my scribed line again with a razor knife for a more crisp line. After that I rubbed a little chalk in there to highlight the lines.
Next, I drilled out the old pearl dots (execpt at the 12th fret, where we decided to leave them in). I don’t want to ruin my nice carbide router bit.
I taped up the bottom of my router base so as not to scratch the frets:
And check my depth of cut. I want the pearl to be perfectly flush with the top of the fingerboard right in the middle. It’s going to be a bit proud on both sides due to the radius of the fingerboard.
Routing time. I go right up to the line wherever I can.
Then I clean up the corners with chisels, including my extra tiny guys that I made from needle files:
So far so good. More later